

Water seeping through a shared wall is one of the most stressful water damage scenarios a Seattle homeowner can face. You can see the damage. You can feel the moisture. But the source might be on the other side of a wall you don’t own, in a unit you can’t access, belonging to a neighbor you may barely know.
In the Othello neighborhood and across South Seattle’s growing stock of modern townhomes and older rowhouses, this situation plays out constantly — especially between November and March when Seattle’s atmospheric river events push 37-plus inches of annual rainfall into building envelopes that were never designed to take that kind of punishment indefinitely.
This guide covers the technical side of shared wall water damage, the legal side of who pays, and exactly what a professional restoration team does when the wet wall sits between two separate properties.

How Water Travels Through Shared Walls in Seattle Townhomes
Modern Seattle townhomes — often called “skinny homes” or Seattle Boxes — share what the building industry calls a party wall or area separation wall. In Washington State, these assemblies are required to carry a fire rating, typically built using Type X drywall on both sides of a doubled wood frame. That fire-rated cavity is not a vapor barrier. It is an air gap that water finds extremely easy to exploit.
When a leak originates in your neighbor’s unit — a failed roof deck, a cracked plumbing stack, or condensation from an uninsulated pipe — water follows the path of least resistance. It wicks through wood framing. It migrates horizontally through insulation batts. It pools inside the wall cavity and begins saturating your drywall from the back face, where you cannot see it until the damage is significant.
Older Othello rowhouses, built decades before modern energy codes, often have even less protection. Lath-and-plaster shared walls, aged flashing at the roofline, and degraded caulking at window penetrations create multiple entry points. Seattle’s clay-heavy glacial soils also create hydrostatic pressure at foundation level, forcing groundwater upward and sideways through shared footings.
The Difference Between Modern Townhomes and Older Rowhouses
Modern Seattle Box townhomes typically use engineered lumber framing, OSB sheathing, and house wrap systems. When those systems fail — usually at the flashing points around roof decks and window headers — water infiltrates behind the cladding and sits in the wall assembly for weeks before anyone notices.
Older rowhouses in Othello, Beacon Hill, and White Center use balloon or platform framing with continuous stud bays that allow water to travel two or three stories inside the wall before exiting. A leak at the third-floor eave can show up as wet drywall on the first floor six days later.
Knowing which construction type you have changes everything about the restoration approach.
Who Is Responsible When the Leak Comes From Your Neighbor’s Unit
This is the question every Othello townhome owner asks first. The answer depends on three things: where the leak originated, what your governing documents say, and what type of insurance policy is in play.
Washington State Law and RCW 64.32 and RCW 64.34
Washington’s Washington Uniform Common Interest Ownership Act (RCW 64.34) governs condominiums and many common interest communities. For older horizontal property regimes, RCW 64.32 applies. Both statutes establish that unit owners are responsible for damage that originates within their unit. If your neighbor’s washing machine hose fails and water enters your shared wall, their liability exposure is real.
The critical concept here is origin of loss. Insurance adjusters and attorneys both focus on where the water first entered the structure. Document everything with photos and timestamps the moment you discover moisture.
HOA Master Policies vs. HO-6 Policies
Most Othello townhome communities carry an HOA master policy that covers the building structure and common elements. Individual unit owners carry an HO-6 policy that covers interior improvements and personal property. The gap between those two policies is where disputes live.
| Coverage Area | HOA Master Policy (Typical) | HO-6 Unit Owner Policy (Typical) |
|---|---|---|
| Shared wall structure (studs, sheathing) | Usually covered | Not covered |
| Your interior drywall finish | Varies by policy (bare walls vs. all-in) | Usually covered |
| Your flooring and cabinets | Not covered | Usually covered |
| Mold remediation inside your unit | Rarely covered | Often covered with endorsement |
| Temporary housing during restoration | Not covered | Loss of use clause (if included) |
| Neighbor’s negligence damage to your unit | Varies | File against neighbor’s liability coverage |
Subrogation and What It Means for You
Subrogation is the legal process where your insurance company pays your claim and then pursues reimbursement from the at-fault party’s insurer. In shared wall water damage cases, your insurer may subrogate against your neighbor’s HO-6 liability coverage if they can prove the loss originated in the neighbor’s unit.
This is why proper moisture mapping and documentation from a certified restoration company matters so much. The technical report your restoration team produces becomes a key piece of evidence in the subrogation process. Generic contractor notes won’t cut it. You need an IICRC-certified technician producing a structured moisture log that identifies origin, migration path, and affected materials.
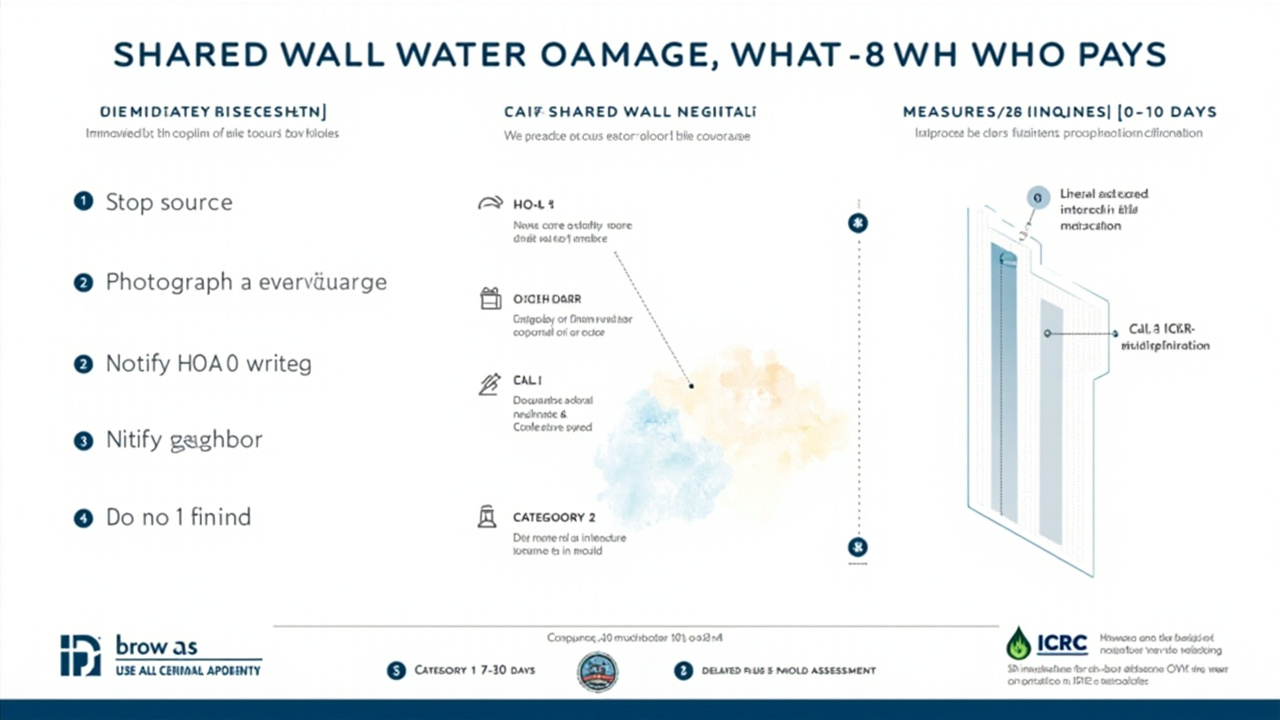
Immediate Steps When You Discover Shared Wall Moisture
If you are reading this during an active event, these steps matter right now. Time is the most critical variable in water damage. The IICRC S500 Standard for Professional Water Damage Restoration classifies water damage by category and class, and the drying timeline directly affects mold risk. In Seattle’s high-humidity environment, mold colonization in a wet wall cavity can begin within 48 to 72 hours.
- Stop contributing sources
Check your own unit for active leaks first. Turn off your water supply if any plumbing is involved. Do not assume the source is the neighbor’s unit until you rule out your own.
- Photograph and timestamp everything
Take wide-angle and close-up photos of every wet surface, water stain, and visible damage. These images protect you in any insurance or subrogation dispute.
- Notify your HOA in writing immediately
Send an email or text so there is a timestamped record. Do not rely on a verbal conversation. Many HOA governing documents require written notification within a specific timeframe after discovery.
- Notify your neighbor if safe and appropriate
If the source is clearly in their unit, a calm conversation or written note establishes good faith and gives them the chance to stop the source. Do not enter their unit without permission.
- Call a certified restoration company
You need moisture mapping equipment on-site within hours, not days. A professional team can document moisture levels, identify the migration path, and begin extraction and drying before mold takes hold.
- Do not remove or disturb shared wall materials
Do not cut into shared drywall without coordination with your HOA and potentially a permit from the Seattle Department of Construction and Inspections (SDCI). Unauthorized removal of fire-rated assemblies can create code violations and liability for you.
The Technical Restoration Process for Shared Wall Assemblies
Restoring a shared wall is not the same as drying out a single-family home. The fire-rated assembly — typically two layers of Type X drywall on each side of a doubled stud wall — creates a sealed cavity. Standard axial fans aimed at a wall surface do nothing for moisture trapped inside that cavity.
Moisture Mapping and Thermal Imaging
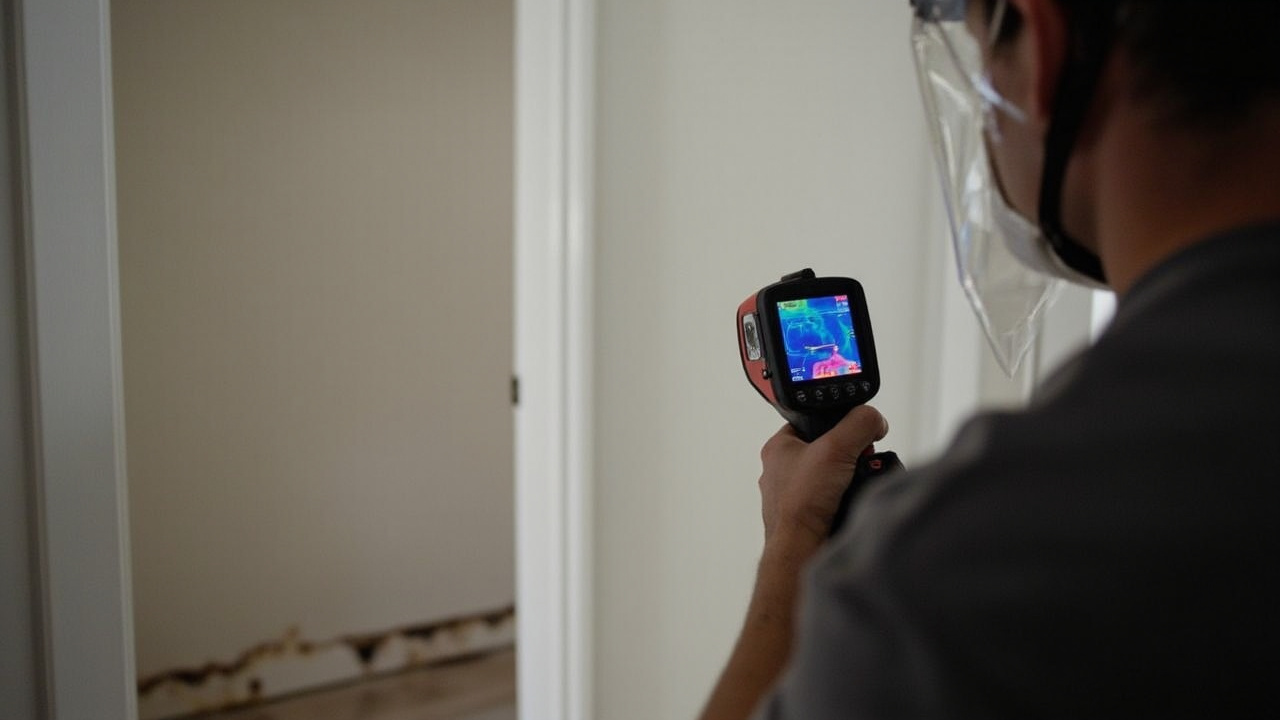
The first step is always moisture mapping. A technician uses a combination of pin-type and non-invasive moisture meters to measure the moisture content of every accessible surface. This data gets logged to a floor plan grid, creating a map of the affected zone.
Thermal imaging cameras (infrared) identify temperature differentials caused by evaporative cooling in wet materials. Behind a painted drywall surface, wet insulation or a wet stud shows up as a cold zone on the infrared display. This lets the restoration team locate the full extent of moisture migration without opening every wall section.
If you are dealing with ongoing leaks in Capitol Hill or have questions about what professional water damage assessment looks like before an emergency, see our resource on getting fast water damage help in Capitol Hill for additional context on the assessment process.
Drying In Place vs. Tear-Out for Shared Drywall
This is one of the most consequential decisions in shared wall restoration, and it is not always up to the unit owner alone.
| Factor | Drying In Place | Tear-Out and Rebuild |
|---|---|---|
| Best for | Category 1 water, minor saturation, detected early | Category 2 or 3 water, heavy saturation, delayed discovery |
| Drying time | 3 to 7 days with wall cavity ventilation systems | Faster drying but longer total project timeline |
| Mold risk | Higher if not monitored daily | Lower once wet materials are removed |
| Permit requirements | Usually none for drying equipment | May require SDCI permit for fire-rated assembly repair |
| HOA coordination needed | Notify, document | Full approval typically required |
| Cost impact | Lower upfront | Higher material cost, lower mold remediation risk |
For shared walls, the restoration team often uses specialized wall cavity drying systems. These involve drilling small-diameter holes through the drywall face, inserting injection hoses, and running heated, dehumidified air directly into the stud bay. This approach can dry a wall cavity without full demolition while still achieving the moisture content targets required by IICRC S500 standards (typically below 16% for wood framing).
When tear-out is necessary, the replacement drywall must match the fire rating of the original assembly. Substituting standard half-inch drywall for Type X in a party wall is a code violation under the Seattle Residential Code. Your contractor must understand this, and ideally should hold a current Washington State contractor license to perform this work legally.
Mold Risk in Shared Wall Cavities and How to Protect Both Units
Seattle’s baseline relative humidity runs high year-round. During the November through March wet season, outdoor humidity frequently sits above 80%, which means even a small amount of moisture in a wall cavity has very little driving force to escape on its own. Mold spores are present in every Seattle home at baseline levels. What they need to colonize is a food source (wood framing, drywall paper) and moisture content above roughly 19%.
A wet shared wall cavity is exactly the right environment. And because the wall is shared, mold that colonizes on one side can spread to the adjacent unit through penetrations, electrical boxes, and HVAC pathways.
If you are concerned about mold spreading in a multi-unit building context, the approach we describe for Kirkland homeowners applies equally to Othello townhomes. See our guide on professional mold removal on damp walls for a detailed look at assessment and remediation standards.
Air Containment and HEPA Filtration During Restoration
When a restoration team opens a shared wall that has been wet for more than 48 hours, they treat the work zone as a potential mold remediation site. This means establishing negative air pressure containment with plastic sheeting, running HEPA-filtered air scrubbers, and using personal protective equipment. This protects both the occupants of your unit and the neighbor’s unit from cross-contamination of airborne spores during demolition.
If your neighbor’s unit is occupied during the restoration process, coordinate with your HOA to ensure they are notified and that air quality in their unit is monitored. This is not just courtesy — it reduces your liability exposure if they later claim the restoration caused health issues.
Common Causes of Shared Wall Water Damage in Othello and South Seattle
After years of responding to water damage calls across South Seattle, Beacon Hill, and White Center, certain causes repeat themselves in townhome and rowhouse construction.
- Failed roof deck waterproofing — Modern Seattle Box townhomes frequently have rooftop decks with waterproof membrane systems. When those membranes crack at the edge terminations or around deck drains, water enters the wall assembly at the top and migrates down.
- Cracked or displaced flashing at shared wall intersections — Where a shared party wall meets the roofline, flashing transitions are a chronic failure point in Seattle’s rain-heavy climate.
- Plumbing stack failures in multi-story units — A vertical drain stack that passes through multiple floors can leak at any coupling. In a townhome, that stack may run adjacent to or through the shared wall.
- Window and door header failures — Water infiltrating around improperly flashed windows in an adjacent unit saturates shared framing before showing up in your wall.
- Condensation in uninsulated shared wall cavities — Washington State Energy Code requires vapor control in exterior walls, but party walls between units are sometimes under-insulated, creating condensation risk from temperature differentials between heated units.
Storm-driven flooding is a separate but related risk. For Ballard homeowners and others across Seattle’s western neighborhoods, basement and ground-floor flooding during atmospheric river events creates a different but equally urgent situation. Our resource on Ballard basement flooding during storms walks through the immediate response steps that apply across Seattle’s urban neighborhoods.
Documenting Everything for Your Insurance Claim
When shared wall water damage results in a claim, documentation quality determines claim speed and outcome. A professional restoration company generates a moisture log, psychrometric data (temperature, relative humidity, dew point readings), a scope of work document, and a daily monitoring report. This file becomes your primary claim support document.
Ask your restoration provider for a written moisture mapping report on their company letterhead before any drying equipment is removed from the site. If your insurer or the neighbor’s insurer disputes the origin of loss, this document is what your public adjuster or attorney will rely on.
If the situation involves burst pipes — common in Seattle during freeze events when temperatures drop below 28 degrees Fahrenheit for extended periods — the response timeline is even more compressed. Residents in Queen Anne and similar hillside neighborhoods with older copper plumbing systems deal with this regularly. Our guide on who to call first after a burst pipe in Queen Anne covers the first-hour response in detail.
What to Expect From a Professional Restoration Team in Othello
When Evergreen Water Damage Restoration responds to a shared wall call in Othello or South Seattle, the first 30 minutes on-site focus entirely on assessment. No equipment goes in before the moisture mapping is complete. That data drives every subsequent decision.
The team coordinates directly with HOA contacts, documents the pre-existing condition of both affected units, and establishes a communication chain that keeps all parties informed. In a multi-unit building, clear communication prevents disputes from escalating and keeps the restoration timeline on track.
The drying phase runs until moisture readings in the shared wall framing return to and hold at the target range. That typically takes three to seven days for a standard wall assembly caught within 24 hours of the event. Delayed discovery or Category 2 water (gray water from drain lines or roof sources) extends that timeline and increases the likelihood of mold remediation requirements.
Bellevue residents dealing with sewage-related water damage in shared building systems face an even higher-stakes version of this scenario, where Category 3 water classification applies. See our resource on professional sewage cleanup in Bellevue to understand why Category 3 events require a different response protocol entirely.
Frequently Asked Questions
Can I dry a shared wall myself without calling a restoration company?
Consumer-grade fans and dehumidifiers cannot reach inside a fire-rated wall cavity. Without moisture meter confirmation that framing has dried below 16%, you are creating the exact conditions mold needs to grow. In a shared wall, that risk affects your neighbor’s unit too, which creates liability for you.
What if my HOA refuses to act on a shared wall leak?
Document your notification to the HOA in writing. If they fail to respond, you may have rights under RCW 64.34 to take reasonable mitigation steps and seek reimbursement. A Washington State licensed attorney familiar with common interest ownership law can advise on your specific governing documents.
How long does shared wall water damage restoration typically take?
For a Category 1 event caught within 24 hours, three to five days of drying is typical. Category 2 events or delayed discovery often require seven to ten days plus a mold assessment before any reconstruction begins. Every day of delay before calling a restoration professional extends this timeline.
Does my HO-6 policy cover damage caused by my neighbor’s plumbing failure?
It depends on your specific policy language. Most HO-6 policies cover sudden and accidental water damage to your interior. If your neighbor’s negligence caused the loss, your insurer will typically pay your claim and then pursue subrogation against your neighbor’s liability coverage. Review your HO-6 declarations page and call your agent the same day you discover the damage.
Shared wall water damage is one of the most time-sensitive and legally complex situations a Seattle townhome owner faces. The right call is to get a certified restoration team on-site immediately, get your HOA and insurer notified in writing the same day, and let the documentation drive the conversation about who is responsible. Evergreen Water Damage Restoration serves Othello, Beacon Hill, White Center, and all of South Seattle 24 hours a day. Call now to get a technician dispatched to your address.