
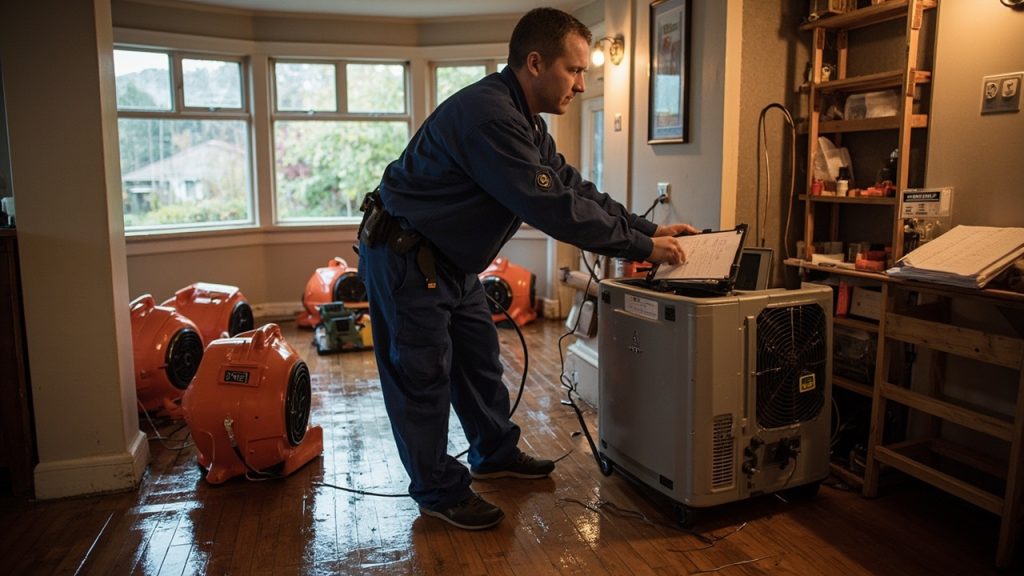
Water got into your Northgate property. You set up a dehumidifier from the hardware store. Two weeks later, the subfloor is buckling and there is a musty smell coming from the walls. This is one of the most common and costly mistakes we see in Seattle water damage jobs. The difference between a dehumidifier and professional structural drying is not just about equipment size. It is about science, standards, and understanding how moisture behaves inside a building.
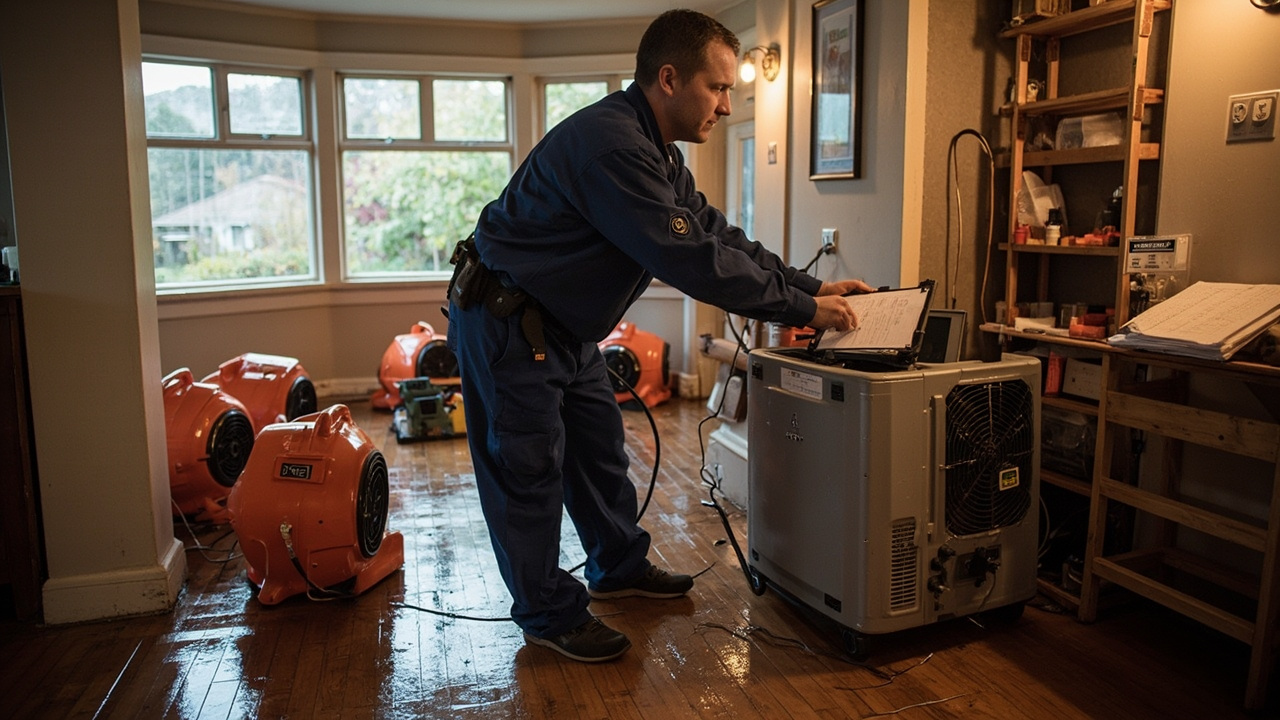
Why Seattle’s Climate Makes Drying So Much Harder
Seattle averages over 37 inches of rain annually. More important than the rainfall itself is the persistent high relative humidity that hovers between 70 and 85 percent for much of the year. That ambient moisture in the air directly competes with your drying equipment.
A standard consumer dehumidifier pulls moisture from the room air. It works by cooling air across refrigerant coils until water condenses and drips into a reservoir. That process works fine when the air is warm and the moisture is airborne. In Seattle, that is rarely the situation you face after a water loss event.
When a pipe bursts in a Ballard Craftsman bungalow or a basement floods in Shoreline, the moisture is not just floating in the air. It has wicked into the lath and plaster walls, absorbed into old-growth Douglas fir subfloor planks, and saturated the insulation between floor joists. A single consumer dehumidifier placed in the middle of the room cannot touch that embedded moisture. The EPA’s guidance on mold and moisture confirms that moisture inside building materials must be brought to equilibrium moisture content before mold growth is reliably arrested.
If you are dealing with a flooding event in Ballard, our guide on what to do when your Ballard basement floods during a storm covers your immediate first steps.
The Science Behind Professional Structural Drying
Professional drying is based on psychrometry, the study of air and water vapor mixtures. A trained technician thinks about temperature, relative humidity, specific humidity, and dew point simultaneously. Changing one variable changes all the others.
The goal is to create a controlled drying environment inside the structure. We raise the temperature of the air, lower its relative humidity, and accelerate airflow across wet surfaces. This combination forces water molecules to evaporate from building materials into the air. Then LGR dehumidifiers pull that vapor-laden air across deeply chilled coils, condensing and removing that moisture before recirculating dry air back into the space.
This is a closed-loop system. It is fundamentally different from cracking a window and running a box fan.
LGR Dehumidifiers vs Consumer Units in Pacific Northwest Conditions
The type of dehumidifier matters enormously in Seattle’s temperature ranges. Standard refrigerant dehumidifiers lose significant efficiency when air temperatures drop below 65 degrees Fahrenheit. In a flooded Shoreline basement in late fall, you might have air temperatures of 50 to 58 degrees. A conventional unit barely functions at that temperature.
LGR (Low Grain Refrigerant) dehumidifiers use a pre-cooling stage before the main refrigerant coils. This allows them to extract moisture efficiently at much lower temperatures and to remove far more grains of water per pound of dry air than conventional units. In Seattle’s cooler, high-humidity environment, an LGR unit can remove two to three times the moisture of a consumer-grade dehumidifier running at the same ambient conditions.
| Equipment Type | Effective Temp Range | Moisture Removal (Pints/Day) | Best Use Case |
|---|---|---|---|
| Consumer Dehumidifier | 65°F and above | 30 to 70 | Minor surface humidity in warm spaces |
| Standard Commercial Dehumidifier | 55°F and above | 80 to 130 | Category 1 water loss in conditioned spaces |
| LGR Commercial Dehumidifier | 40°F and above | 130 to 200+ | Seattle basements, crawlspaces, post-atmospheric river flooding |
| Desiccant Dehumidifier | Below 40°F (freezing conditions) | Variable by unit | Unheated garages, outdoor structures, extreme cold events |
Axial Air Movers and Why Fan Placement Is a Technical Decision
Most people think a fan is a fan. In structural drying, fan selection and placement follow specific psychrometric calculations based on the IICRC S500 Standard for Professional Water Damage Restoration, which is the industry benchmark for all professional mitigation work.
Axial air movers are low-profile, high-velocity fans designed to direct a concentrated column of air across a wet surface at a specific angle. This creates a thin, turbulent boundary layer effect that dramatically accelerates evaporation from the surface of wet materials. Centrifugal air movers, by contrast, produce a higher-pressure, more diffused airflow and are used in wall-cavity drying and duct systems.
The ratio of air movers to dehumidifiers, the placement angle, and the airflow direction are all calculated based on the moisture readings taken during the initial inspection. A technician does not just scatter fans around a room. That approach dries some surfaces while leaving others to develop mold behind the walls.
Thermal Imaging and Penetrative Moisture Meters Find What You Cannot See
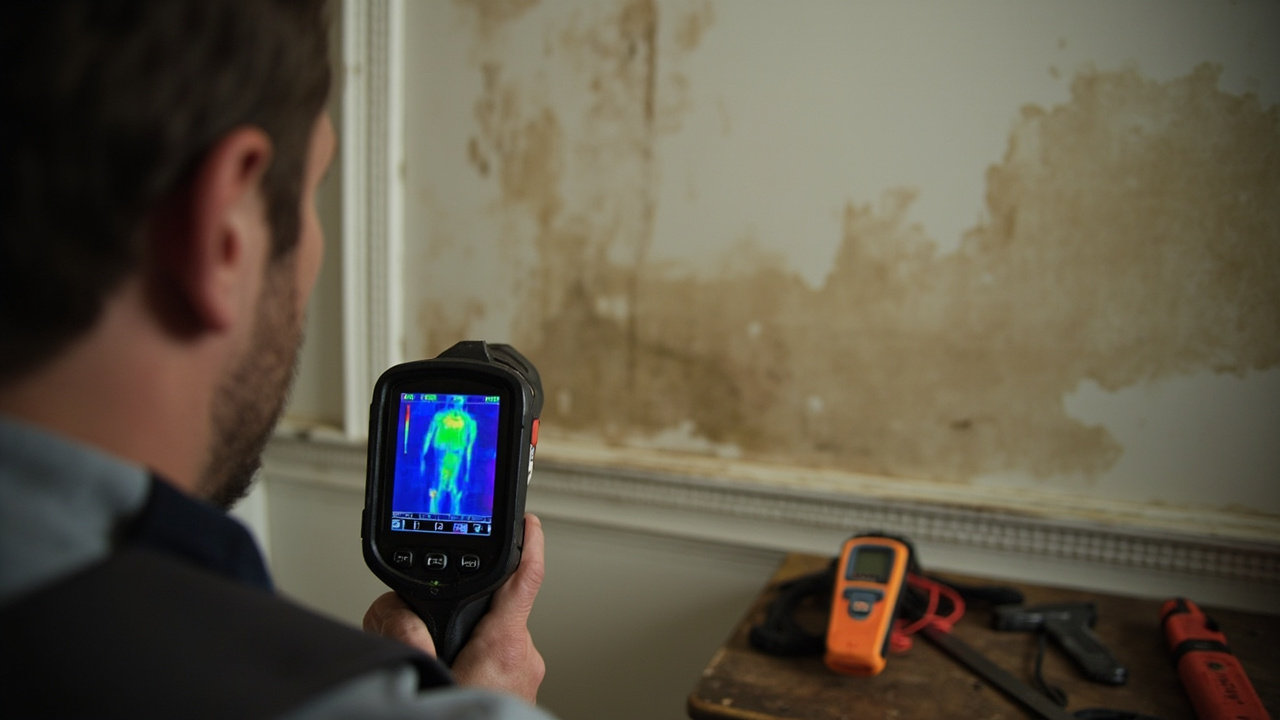
One of the biggest failures of DIY drying is invisible moisture. In a Queen Anne Victorian home with original lath and plaster walls, water from an overhead pipe failure can travel six to ten feet horizontally through the plaster system before showing any surface sign. You might see a small wet patch on the ceiling and assume the damage is contained. The moisture meter and FLIR thermal imaging camera tell a very different story.
Thermal imaging detects temperature differentials on surfaces. Wet materials evaporate and cool down faster than dry materials under the same conditions. A FLIR camera shows the outline of hidden moisture as a distinct cool zone on an otherwise warm wall or ceiling. This allows technicians to map the full extent of moisture migration without destroying walls unnecessarily.
Once the scope is confirmed with thermal imaging, penetrative pin-type moisture meters and non-invasive impedance meters verify the exact moisture content of the material. These readings are logged daily as part of the moisture mapping and drying documentation required by insurance adjusters.
If you are managing a situation in Queen Anne, our resource on what to do after a burst pipe in Queen Anne walks through the immediate response steps before a restoration crew arrives.
Dry-in-Place vs Rip-and-Tear for Seattle’s Historic Building Stock
Seattle has an enormous inventory of pre-war Craftsman bungalows, Tudor revivals, and early mid-century homes, particularly in neighborhoods like Wallingford, Fremont, Green Lake, and Magnolia. These homes have materials that are irreplaceable or extraordinarily expensive to replicate. Original fir hardwood floors. Plaster crown molding. Tongue-and-groove bead board ceilings. Old-growth Douglas fir subfloor planks.
A rip-and-tear approach, where wet materials are immediately removed and replaced, is sometimes necessary for Category 3 sewage contamination or Class 4 (deeply embedded) water losses. But for many Category 1 and Category 2 losses in these historic homes, dry-in-place technology preserves the original materials and dramatically reduces the total claim cost.
Dry-in-place uses targeted air injection systems, mat drying systems for hardwood floors, and wall cavity drying systems that drill small access holes to direct conditioned air into wall assemblies. The subfloor and framing are dried from the inside out without demolition. This approach requires more monitoring and documentation, but it saves original materials that a modern replacement can never fully match.
Subfloor and Hardwood Floor Drying Systems
Hardwood floor drying is one of the most technically demanding parts of structural drying in Seattle. Old-growth fir and Douglas fir floors are dimensionally stable but will cup, buckle, and crown if moisture content is not brought down uniformly. Drying too fast causes splitting. Drying unevenly causes permanent cupping.
Mat drying systems clamp directly to the floor surface and use a vacuum-assisted airflow to draw dry air through the wood from above while simultaneously pulling moisture out from below. Combined with daily moisture content readings, this system can save a floor that would otherwise be condemned for replacement.
Water Loss Classifications and How They Affect Your Drying Timeline
The IICRC S500 standard classifies water losses on two scales. The water category describes contamination level (clean water, gray water, or black water). The water class describes how much moisture has been absorbed into materials and how difficult it will be to dry them. Both directly affect drying timeline and equipment requirements.
| Water Class | Description | Typical Drying Timeline in Seattle | Equipment Intensity |
|---|---|---|---|
| Class 1 | Minor absorption, limited to small area or low porosity materials | 2 to 3 days | Low (1 to 2 air movers, 1 LGR unit) |
| Class 2 | Significant absorption into carpet, cushion, subfloor, walls up to 24 inches | 3 to 5 days | Moderate (multiple air movers, 2+ LGR units) |
| Class 3 | Saturation of ceilings, walls, insulation, subfloor from overhead events | 5 to 7 days | High (full chamber drying, wall cavity injection) |
| Class 4 | Deeply embedded moisture in concrete, hardwood, plaster, crawlspace soil | 7 to 14 days or longer | Specialty systems, desiccant dehumidifiers may be required |
Seattle’s ambient humidity extends every one of these timelines compared to drier climates like Phoenix or Denver. A Class 2 loss that dries in three days in Las Vegas routinely takes five days here. Equipment staging must account for that. A company quoting a two-day dry time on a flooded Bellevue townhome without moisture readings is not using the S500 standard. That matters when your adjuster reviews the claim documentation.
Property managers in Bellevue dealing with water damage in commercial or multi-unit properties should also review our guide on why professional sewage cleanup in Bellevue protects your floors.
Moisture Mapping and Insurance Documentation
Insurance adjusters for major carriers operating in King County now routinely request psychrometric data logs and moisture maps before approving structural drying claims. This is standard practice, and companies that do not provide it create real problems for homeowners trying to close their claims.
A moisture map is a floor plan sketch with moisture readings recorded at specific points throughout the affected area. Each reading is date and time stamped. Daily readings track the drying progress toward the target moisture content (typically at or below 15 to 16 percent for wood, and at or near the equilibrium moisture content for the specific material type and ambient conditions).
The psychrometric data log records temperature, relative humidity, and specific humidity readings inside the drying chamber at regular intervals. This log, combined with the moisture map, forms the documentation package that proves the drying was performed correctly and completed to standard. Without this documentation, adjusters can and do dispute the scope and duration of drying services.
What Your Insurance Documentation Checklist Should Include
- Initial moisture readings at all affected surfaces with exact GPS or room locations noted on a floor plan sketch
- Water category and class assessment per IICRC S500 standards with written justification
- Equipment placement log showing air mover and dehumidifier positions and quantities
- Daily psychrometric readings (temperature, relative humidity, and specific humidity) for each drying zone
- Daily moisture content readings for all monitored materials with the target drying goal stated
- Thermal imaging photos showing moisture migration extent at inspection and during monitoring
- Final moisture readings confirming materials reached target equilibrium moisture content
- Equipment removal date and final inspection report
Homeowners in Capitol Hill dealing with time-sensitive water intrusion can also read our resource on how to get fast water damage help in Capitol Hill for guidance on speeding up the response process.
Seattle-Specific Building Challenges That Change the Drying Equation
The glacial till and clay-heavy soils common throughout King County create hydrostatic pressure against foundation walls. In valley neighborhoods like Renton and areas near Green Lake, the water table sits high. This means a dried basement can re-wet from below if drainage issues are not addressed alongside the structural drying work. Vapor barriers under slabs and against crawlspace walls are not optional in these conditions. They are required under the Washington State Energy Code and Seattle Residential Code moisture control standards.
Older combined sewer overflow systems in historic Seattle districts can back up during heavy rainfall, introducing Category 3 (black water) contamination into basements. This changes the drying protocol entirely because contaminated materials require containment, antimicrobial treatment, and in many cases removal rather than dry-in-place methods.
Modern Seattle Box townhomes in South Lake Union and West Seattle present a different set of challenges. Multi-story plumbing stacks mean that a single pipe failure can distribute water across three or four floors simultaneously. The moisture migration path in these builds is vertical and fast. By the time you see water on the second floor, the third floor cavity may already be saturated.
Kirkland and Redmond homeowners dealing with suspected mold from ongoing moisture issues should also read our guide on professional mold removal on damp walls.
The First 48 Hours Determine Your Total Outcome
Mold colonies can establish on wet cellulose materials in as little as 24 to 48 hours under the right conditions. Seattle’s ambient humidity creates those conditions almost year-round. A water loss that receives professional structural drying within the first few hours can often avoid mold remediation entirely. The same loss left to a consumer dehumidifier for three or four days frequently requires both structural drying and mold remediation, which doubles or triples the total restoration cost.
The decision you make in the first hour after discovering water damage in your Northgate property directly determines how complicated and expensive the recovery process becomes. A structural drying crew with LGR equipment, air movers, moisture meters, and thermal imaging arrives with a system designed for this exact environment. A consumer dehumidifier and a box fan are designed for a different problem entirely.
If you have water in your property right now, call Evergreen Water Damage Restoration Seattle. We serve Northgate, Shoreline, Bellevue, Burien, West Seattle, and the full Greater Seattle metro area. Our crews are available 24 hours a day, seven days a week, and we carry the full documentation package your insurance adjuster will require. Reach out and get a technician to your property before the moisture reaches the wall cavities.
Frequently Asked Questions
How long does structural drying actually take for a typical Seattle home?
Most Class 2 residential water losses in Seattle require 4 to 6 days of active drying with professional equipment. Seattle’s high ambient humidity extends timelines compared to drier regions. Class 3 and Class 4 losses, particularly those involving crawlspaces, concrete, or historic plaster walls, can take 7 to 14 days. Daily moisture readings determine when equipment can be removed, not a preset calendar.
Will my homeowner’s insurance cover professional structural drying?
Most standard homeowner’s policies in Washington State cover sudden and accidental water damage, which includes the cost of professional structural drying performed to IICRC S500 standards. Gradual leaks and flood damage from external sources require separate coverage. Proper moisture mapping and psychrometric documentation logs are typically required by adjusters to approve the claim scope and duration.
Can I use a rented dehumidifier instead of hiring a structural drying company?
Rental dehumidifiers are larger than consumer units but still lack the monitoring system, equipment placement expertise, and documentation required for a compliant drying job. Without daily psychrometric readings and moisture maps, you have no way to confirm drying is complete, no documentation for your insurance claim, and no early warning if moisture is migrating behind walls. In Seattle’s climate, incomplete drying almost always leads to mold growth within two to four weeks.