
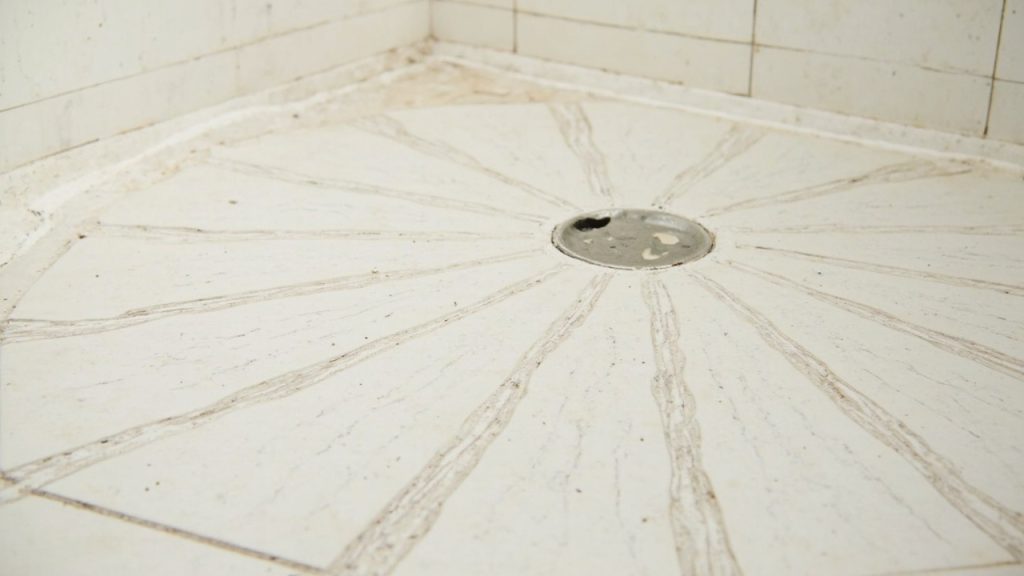
You just spent thousands remodeling your walk-in shower in Hawthorne Hills. The tile looks clean, the grout looks fresh, and the contractor packed up weeks ago. But something feels off. There is a faint musty smell. A tile shifted slightly underfoot. And the paint on the ceiling downstairs is starting to bubble.
These signs point to a shower pan leak. And in Seattle’s persistently damp climate, a slow leak under brand-new tile can cause more structural damage in three months than a burst pipe does in a single afternoon.
This guide covers exactly how to identify, test, and respond to a leaking shower pan before the damage reaches your floor joists. If you want a quick sense of whether your situation needs professional eyes before you finish reading, the symptom checklist midway through this article will tell you.

What Is a Shower Pan and Why Do New Ones Fail
The shower pan sits beneath your tile and mortar bed. Its job is to catch any water that passes through grout and thin-set and redirect it to the drain. Most residential showers use either a CPE (chlorinated polyethylene) liner or a PVC liner that the contractor bonds to the subfloor before tile installation.
When a contractor installs tile without properly seating or adhering the liner, or when they puncture the liner during installation, the shower pan fails. Water that should drain away instead pools beneath the tile and wicks into the surrounding wood structure through capillary action.
In the Pacific Northwest, where relative humidity regularly sits above 70 percent, that moisture finds nowhere to evaporate. The subfloor stays wet. Mold establishes within 24 to 48 hours. Floor joists begin to rot.
Many homeowners in Ballard and Queen Anne call us after a remodel, convinced the problem must be a pipe. The shower pan liner is the far more common culprit in new construction and renovation work.
Eight Shower Pan Leak Signs You Should Not Ignore
You do not need a moisture meter to spot most of these. A careful visual inspection and some attention to feel and smell tell the story fast.
1. Spongy or Bouncy Subfloor Underfoot
Step into the shower and press your heel near the drain perimeter. A solid subfloor gives no flex. A wet or rotting subfloor gives underfoot like a soft mattress. This bounce means the plywood or OSB beneath the tile has lost structural integrity from sustained moisture exposure.
2. Cracked Grout and Tile Delamination
Grout cracks in a pattern that radiates from a single point usually signal subfloor movement, not just normal settling. Tap individual tiles with a coin or your knuckle. A hollow thud instead of a solid click means the tile has delaminated from its thin-set mortar bed. Water got beneath it.
3. Efflorescence on Grout Lines
Efflorescence appears as white, chalky deposits on grout lines or tile edges. This is dissolved mineral salt left behind as water migrates through porous material and evaporates at the surface. On a shower floor that is less than a year old, efflorescence strongly indicates that water moves through the assembly where it should not.
4. Musty Odors That Linger After Ventilation
Seattle homes trap moisture aggressively. But a shower that still smells like a wet basement two hours after you run the exhaust fan points to active mold growth beneath the tile. The Pacific Northwest hosts several mold variants that thrive in cool, damp environments. Stachybotrys chartarum (black mold) needs constant moisture and begins colonizing wood substrates within 48 to 72 hours of sustained saturation.
5. Peeling Paint or Bubbling Drywall in Adjacent Rooms
Water follows the path of least resistance. If your shower pan leaks, water moves laterally through the subfloor and can surface as peeling paint on a shared wall or bubbling drywall in a hallway. Homeowners in Green Lake and Fremont often call us for what looks like a paint problem that turns out to trace back to a failed shower liner two feet away.
6. Water Stains on the Ceiling Below the Bathroom
A yellow or brown ring on the ceiling of a room directly below your bathroom gives the clearest visible signal that water has penetrated the floor assembly. By the time a stain appears, the subfloor and possibly the joists above have already sustained damage. This is not cosmetic. This is structural.
7. Loose or Shifting Tiles at the Shower Base
Tiles that move when you step on them have lost their bond with the mortar bed beneath. Saturated thin-set mortar fails its adhesive properties. A tile that lifts, shifts, or rocks confirms that the assembly below it has been wet long enough to break down the bond permanently.
8. Unexplained Mold Growth on Baseboards in Adjacent Rooms
Mold on baseboards in a bedroom or hallway that shares a wall with a walk-in shower signals moisture migration through the subfloor. This pattern appears especially often in older Capitol Hill Craftsman bungalows where lath-and-plaster walls offer little barrier to lateral moisture movement. If you see mold on baseboards, read our detailed guide on how to tell if your home has hidden mold behind the drywall before assuming it is surface-level.
Not sure yet whether your situation warrants a professional inspection? A licensed restoration technician can run a free moisture scan and tell you in plain terms what the readings mean, with no obligation to book remediation services. That kind of early check-in costs you nothing and could save you tens of thousands if the damage has already spread beyond the shower footprint.
How to Run a DIY Shower Pan Flood Test
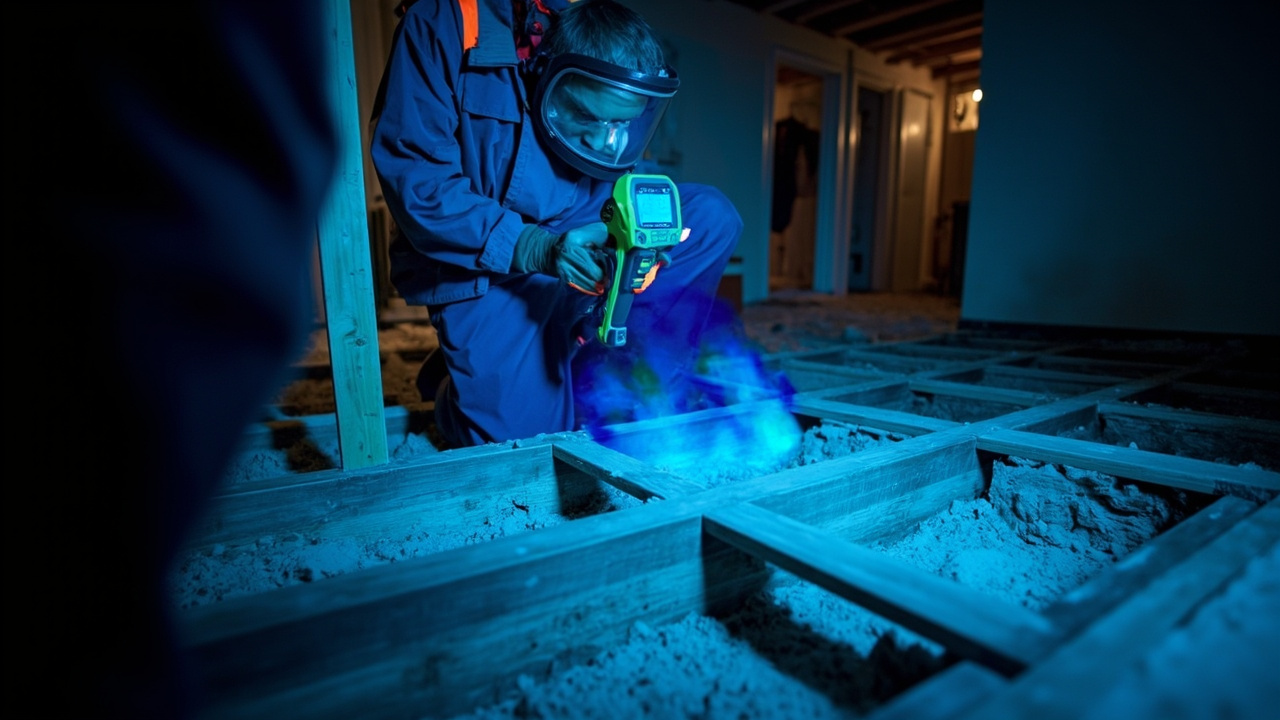
The flood test is the most reliable way to confirm a pan leak versus a supply-line or drain-connection leak. Restoration professionals run this test on every shower inspection. You can run a version of it yourself before calling anyone.
- Plug the Drain
Use a rubber test plug or a waterproof drain cover. Press it firmly into the drain opening so no water can escape. A rolled towel secured with a waterproof bag works in a pinch.
- Fill to One Inch of Water
Add water until it sits at least one inch deep across the entire shower floor. Mark the water level on the wall with a piece of tape.
- Wait 24 Hours Without Using the Shower
Keep the shower sealed. No one enters the bathroom during the test period. Make sure no one turns on supply valves or runs adjacent fixtures.
- Check the Water Level
Return after 24 hours. If the water level dropped below your tape mark, the pan leaks. If the level held steady, the pan is likely intact and your leak source is a supply line, drain fitting, or tile grout joint above the pan.
- Inspect Below While the Test Runs
During the 24-hour period, go to the room or crawlspace below the shower. Check the ceiling, joists, and subfloor underside for any signs of active dripping or fresh moisture. This triangulates where the water exits.
If the test confirms a pan leak, stop using the shower immediately. Every additional use adds water to a subfloor assembly that may already be compromised.
Why Seattle Homes Face a Higher Risk of Shower Pan Failure
The Seattle metro area averages over 37 inches of rainfall annually, and persistent cloud cover keeps relative humidity elevated even during dry stretches. This creates an environment where moisture from a small, slow leak does not evaporate between showers. The subfloor stays chronically damp.
Hawthorne Hills, like much of northeast Seattle, sits on glacial till and clay-heavy soils that drain poorly. Homes in these areas often experience elevated crawlspace humidity even without an active leak. The neighborhood also sits within the Thornton Creek watershed, and that drainage corridor raises baseline crawlspace humidity across streets like 50th Avenue NE because groundwater moves uphill through the clay layer and holds against foundation walls throughout the rainy season. Add a slow shower pan failure to that baseline moisture load and you accelerate subfloor rot and mold growth faster than you would in a drier climate.
Seattle’s historic Craftsman homes, common from Wallingford through Ballard, were built with dimensional lumber that absorbs moisture readily. A modern home in Bellevue with engineered floor trusses handles short-term wetting better. An older home with 2×10 Douglas fir joists develops rot more quickly once those joists stay wet.
The Washington State Energy Code requires vapor barriers in specific applications, and the Seattle Residential Code sets moisture control standards for bathroom assemblies. Specifically, Seattle adopts the International Residential Code with local amendments, and IRC Section R307 governs shower and bathtub enclosure requirements, while IRC Section P2709 sets the performance standard for shower liner materials and installation, including the requirement that pan liners extend at least two inches above the top of the rough curb and that flood testing occur before any finish tile work begins. Not every remodeling contractor follows these standards precisely, which is one reason renovation-related shower leaks appear regularly across the Seattle metro.
Signs Visible From the Crawlspace or Room Below
Most Hawthorne Hills homes have a crawlspace or a finished lower level. Both give you a view of the underside of the bathroom floor that reveals damage invisible from inside the shower itself.
Look for these signs from below.
- Dark staining or black discoloration on the subfloor panels
- Soft, punky wood on floor joists directly beneath the shower footprint
- White fuzzy mold growth on joist faces or subfloor underside
- Rust streaks or mineral deposits on metal joist hangers beneath the shower area
- Active dripping or wet spots during or shortly after shower use
Because Hawthorne Hills crawlspaces sit close to the Thornton Creek drainage corridor, a technician entering the crawlspace of a home on NE 50th Avenue or nearby streets will often find ambient moisture readings that already push against safe thresholds before any fixture leak enters the picture. That elevated baseline makes it harder to spot a new leak by moisture meter alone without a reference reading taken before the remodel. Professional moisture mapping establishes that baseline and separates pre-existing environmental moisture from active shower pan failure.
If you find any of the above signs, the damage extends beyond a tile repair. You need professional moisture mapping and structural assessment before any restoration work begins. For context on what slow leaks do to structural wood over time, our article on what a slow leak in your Magnolia basement does to your home explains the progressive timeline well.
Shower Pan Liner Types and Which Fails More Often
| Liner Type | Common Application | Failure Point | Lifespan (When Installed Correctly) |
|---|---|---|---|
| CPE (Chlorinated Polyethylene) | Mud-set shower floors | Puncture during tile stapling, improper seam bonding | 20 to 30 years |
| PVC (Polyvinyl Chloride) | Standard residential showers | Brittle seams in cold conditions, chemical damage from cleaners | 15 to 25 years |
| Hot-Mopped Liner | Custom tile installations | Incomplete coverage on curb corners, thin application | 10 to 20 years |
| Sheet-Applied Membrane | Modern foam backer systems | Unbonded seams, missed weep hole coverage | 20 to 40 years |
The weep holes built into the drain assembly also matter. These small openings allow any water that gets beneath the tile to exit through the drain rather than sitting under the mortar bed. When contractors clog weep holes with thin-set mortar during installation, water has nowhere to go and hydrostatic pressure builds against the liner. This is one of the most common installation errors we document on job sites across Seattle.
What Professional Moisture Mapping Finds That You Cannot
A visual inspection and a flood test tell you that a leak exists. Professional moisture mapping tells you exactly how far the damage has spread and which materials require replacement versus drying.
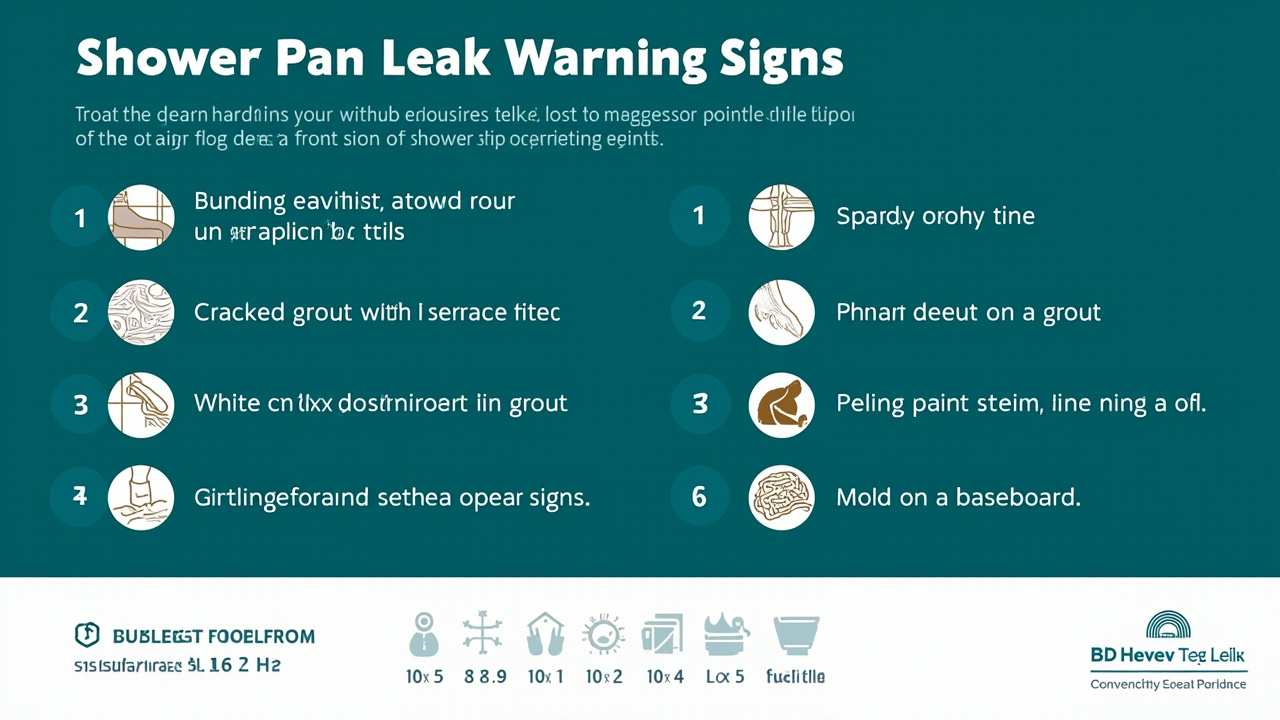
Restoration technicians certified under IICRC S500 Standards use infrared thermal imaging cameras to detect temperature differentials in wet versus dry materials. Wet wood and wet concrete register cooler temperatures on thermal imaging. A technician can map the exact perimeter of moisture migration in minutes, identifying whether the damage stays within the shower footprint or has spread into the hallway subfloor.
Paired with calibrated moisture meters, thermal imaging eliminates guesswork. A technician confirms whether a joist reads 19 percent moisture content (acceptable) or 28 percent (active rot zone) before any drying or demolition decisions happen. This data drives the scope of work and protects you from either under-repairing or paying for unnecessary demolition.
The Cost of Delay in Seattle’s Climate
| Delay Period | Typical Damage Progression | Restoration Scope | Relative Cost Impact |
|---|---|---|---|
| 0 to 48 hours | Wet liner, saturated mortar bed | Liner replacement, mortar removal, drying | 1x baseline |
| 1 to 4 weeks | Subfloor saturation, mold begins on wood | Subfloor panel replacement, mold remediation, liner replacement | 2x to 4x baseline |
| 1 to 3 months | Joist rot begins, mold spreads laterally | Joist sistering or replacement, subfloor replacement, mold remediation, full shower rebuild | 5x to 8x baseline |
| 3 to 6 months | Structural compromise, possible black mold colonization | Structural repair, full mold remediation, bathroom rebuild, possible adjacent room repair | 10x to 15x baseline |
Seattle’s high ambient humidity means the damage progression in the middle two rows happens faster here than the national average. A leak that sits untreated for six weeks in Tucson may cause minimal joist damage. That same leak in a Hawthorne Hills home during a wet autumn can saturate the joist bay completely. We see the same accelerated timeline in View Ridge and Wedgwood, where clay soil composition and proximity to Thornton Creek keep crawlspace moisture levels elevated from October through April and give a slow shower pan leak almost no dry window to slow its damage.
Insurance Coverage for Shower Pan Leaks in Washington State
Washington homeowner policies draw a hard line between sudden damage and gradual damage. A shower pan that fails during installation and leaks for three months before discovery falls into the gradual damage category. Most standard policies deny those claims.
A liner that fails suddenly due to a defective material may qualify under sudden and accidental coverage. Document everything from the first moment you notice a problem. The steps below protect your claim before an adjuster arrives.
Documentation Steps to Protect Your Claim
- Take dated photos of every visible sign the moment you notice it, including grout cracks, efflorescence, staining, and any mold growth
- Start a written observation log that records the date, time, and description of each new symptom as it appears
- Contact your adjuster before any demolition begins so the adjuster can assess original conditions in place
- Request that a professional restoration company document pre-demolition moisture readings and preserve physical evidence of liner failure
- Ask your insurer specifically whether your policy caps mold remediation coverage separately from the water damage claim
The date you first observed the problem matters significantly in a Washington state claim dispute. Our guide on handling a water damage insurance claim in Beacon Hill walks through the documentation process step by step.
If you are unsure whether your situation qualifies for coverage, call your insurer before any demolition begins. Once you remove tile and subfloor material, the adjuster loses the ability to assess original conditions. A professional restoration company can help you preserve evidence while still mitigating active damage.
When to Stop the DIY Assessment and Call a Restoration Pro
Run your own flood test and visual inspection first. That diagnostic costs you nothing and gives you real information. But contact a professional restoration team as soon as any of the following is true.
- The flood test confirms pan failure
- You find any joist discoloration or soft wood from below
- Mold appears on any surface outside the shower footprint
- The ceiling below shows staining or moisture
- The subfloor feels spongy or bouncy underfoot
- You smell mold more than 48 hours after your last shower
Restoration at this stage demands structural drying, mold remediation, and material replacement that follows EPA mold remediation guidelines so your home does not carry a hidden mold problem into future sales or insurance renewals.
When you are ready to choose a restoration contractor, our guide on how to hire a water restoration company gives you the right questions to ask before anyone touches your bathroom.
The shower pan problem in your Hawthorne Hills home is solvable. The longer the subfloor stays wet, the fewer options you have and the higher the bill climbs. If any of the signs in this guide sound familiar, do not wait for the ceiling to stain or the tile to crack further.
A licensed restoration technician serving Hawthorne Hills and the greater Seattle metro can schedule a moisture mapping inspection, walk you through exactly what the readings show, and explain every step of the restoration process before any work begins. Our team answers calls 24 hours a day, 7 days a week at Evergreen Water Damage Restoration Seattle. Tell us your symptoms and we will give you a clear picture of what the damage looks like and what it will take to fix it.