
Your New Shower Can Leak From Day One and You Won’t Know It
You spent real money on that walk-in shower remodel. The tile work looks sharp, the grout lines are clean, and the frameless glass door swings perfectly. Then, three months later, you notice the paint bubbling on the ceiling below the bathroom. Or the floor near the vanity feels soft when you step on it. That feeling in your stomach is warranted. Shower pan leaks are one of the most destructive and misunderstood forms of water damage in Seattle homes, and Hawthorne Hills homes sit on hillside elevations above Union Bay where rainfall runoff and older Craftsman-era plumbing infrastructure create a specific combination of risk that generic contractor advice rarely addresses.. Read more about What to Do if Your Bidet Leaks and Ruins Your Bathroom Floor in Roosevelt.
This guide gives you a real diagnostic framework. Our restoration crews have spent fifteen years pulling up damaged subfloors across Queen Anne, Ballard, Capitol Hill, Fremont, and the Burke-Gilman Trail corridor, where older bungalows and split-level homes cluster along the trail grade between the Montlake Cut and the university district edge, and that field experience shapes every recommendation here.. Read more about Why Radiant Floor Heating Leaks in Whittier Heights Require Professional Detection.

The 8 Shower Pan Leak Signs That Demand Your Attention
Most homeowners notice one or two signs and dismiss them. A restoration technician sees the full pattern. Here are the eight indicators we find most often when we pull a compromised shower apart.
1. Soft or Bouncy Subfloor Near the Shower Threshold
Step onto the bathroom floor just outside the shower curb. If it gives slightly underfoot, that subfloor has been absorbing water. Prolonged moisture causes the oriented strand board or plywood beneath your tile to delaminate and compress. By the time you feel the flex, the structural damage has already started in the wood.
2. Efflorescence on Grout Lines
White, chalky deposits appearing along your grout lines are a reliable early warning. Efflorescence forms when water moves through a porous material, pulls dissolved salts with it, and then evaporates at the surface. In a shower, this tells you water is traveling through your thin-set mortar bed and finding a path out. It is not cosmetic. It is a moisture tracer.
3. Cracked Grout and Tile Delamination
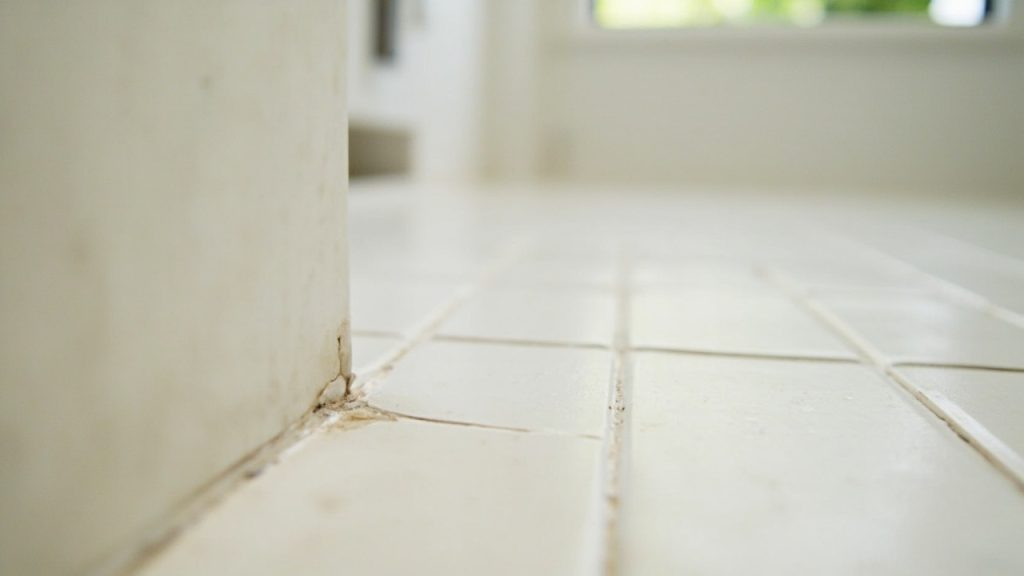
Grout that cracks within the first year of a new install points to movement in the substrate beneath. When the waterproofing membrane or shower liner fails and water saturates the mortar bed, the bed shifts. That shifting cracks grout, and eventually tiles lift at the corners. You can press on a suspect tile and feel it rock slightly if the thin-set bond underneath has failed.
4. Musty Odors That Persist After Cleaning
Seattle’s persistent cloud cover and high relative humidity slow natural evaporation significantly. A wet mortar bed trapped beneath tile in a Pacific Northwest home can stay damp for weeks. That sustained moisture feeds mold colonies. In our climate, Stachybotrys chartarum, which researchers and contractors commonly identify as black mold, can establish in 48 to 72 hours on wet wood. If your bathroom smells earthy or musty even after thorough cleaning, the source is almost certainly behind the tile or beneath the floor.
5. Peeling Paint or Staining on the Ceiling Below
This is the sign that finally sends people to the phone. When water penetrates a shower pan and soaks through the subfloor, it migrates into the ceiling of the room directly below. You will see yellow or brown rings, bubbling latex paint, or soft drywall that crumbles when you press it. By this point, the leak has been running for months.
6. Loose or Rocking Toilet Base
A toilet that rocks or requires retightening near a walk-in shower suggests the subfloor it anchors to has lost structural integrity. Water traveling from the shower pan can reach the toilet flange area within the same floor cavity. Many homeowners chalk this up to a wax ring issue and replace it, only to find the same problem returning because the subfloor itself has rotted through.
7. Unexplained Mold in an Adjacent Bedroom or Closet
Capillary action pulls water laterally through wood framing. A shower that backs against a closet wall can saturate the wall cavity and push mold onto the opposite surface. Homeowners sometimes discover this when discoloration appears on a baseboard or lower wall section in an adjacent room with no obvious water source. For a deeper look at hidden mold detection, read our guide on how to tell if your home has hidden mold behind the drywall.
8. Secondary Damage to Floor Joists and Crawlspace
Many Hawthorne Hills and Capitol Hill homes have crawlspace access below the first floor. If your walk-in shower sits above a crawlspace, shine a flashlight at the joists directly beneath the bathroom. Dark staining, white fuzzy mold growth, or soft wood that a screwdriver sinks into easily all confirm active or past water intrusion from above. This is the stage where repair costs multiply because structural lumber replacement enters the equation.. Read more about Why Attic Mold in Olympic Hills is Often Caused by Poor Bathroom Venting.
Why New Remodels Fail So Often in Seattle Homes
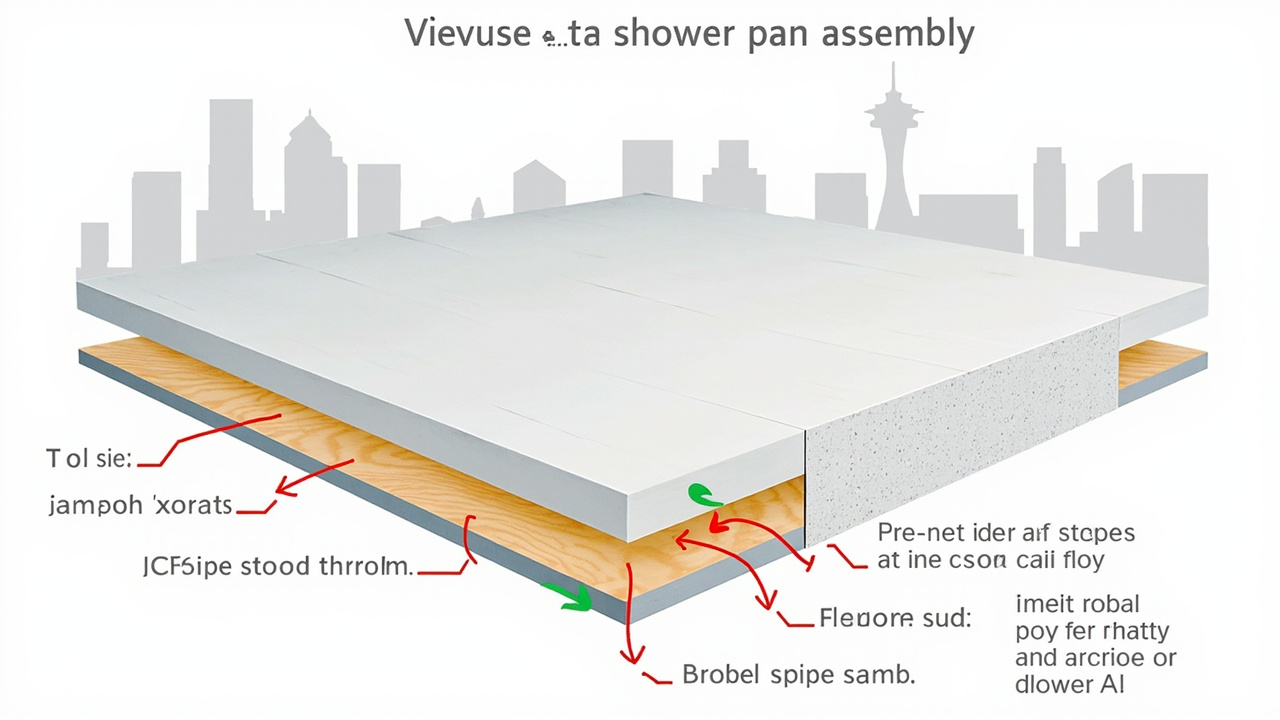
Homeowners reasonably assume a brand-new shower should not leak. But the waterproofing system inside a walk-in shower is only as good as its installation. Shower pan liners come in two primary materials. CPE, or chlorinated polyethylene, and PVC are the two dominant options. Both require precise seating, properly sealed corners, and functioning weep holes at the drain collar. If a contractor skips any of those steps, the liner fails and water finds the mortar bed.
The Seattle Residential Code and Washington State Energy Code, including provisions under WAC Chapter 51-51, both require vapor barriers and moisture control measures in wet areas. But code compliance does not guarantee quality installation. A permit inspection may not catch a liner the contractor folded rather than properly formed at the corners, and that fold becomes a seam failure within months of regular use.
Older Craftsman-era homes in neighborhoods like Ballard or Queen Anne add another layer of risk. Their existing framing may not be perfectly level, and an unlevel substrate creates low points in the mortar bed where water pools against the liner instead of draining to the weep holes. Over time, hydrostatic pressure at those low points stresses the liner until it cracks or separates.
How to Perform a Shower Pan Flood Test at Home
Before calling anyone, you can perform a basic flood test to distinguish a shower pan failure from a supply line or drain connection leak. This test takes about 24 hours and requires minimal equipment.
- Plug the drain
Use a rubber test plug sized to your drain collar. Push it firmly into the drain opening until it seats without any gap around the edges.
- Fill the pan with water
Add water until it reaches roughly one inch below the top of your shower curb. Mark the water level with a piece of waterproof tape on the shower wall.
- Wait 24 hours without using the shower
Keep the bathroom door closed and return the following day. Do not let anyone use that bathroom during the test period.
- Check the water level
If the water level dropped more than a quarter inch, the pan or its liner has a breach. If the level held steady, inspect supply lines and drain connections instead, as the leak originates there rather than through the pan itself.
- Inspect the room below simultaneously
While the water sits in the pan, check the ceiling below the bathroom every few hours for new staining. A fast leak will show visible moisture within six to eight hours.
This test gives you concrete evidence before a restoration team or contractor arrives. It also matters for your insurance claim, which we address below.
How Seattle’s Climate Turns a Small Leak Into a Large Loss
Seattle averages more than 37 inches of rain annually, and that persistent dampness raises the baseline humidity inside homes across Shoreline, Burien, West Seattle, and Fremont. A shower pan leak in Phoenix might dry partially between uses. The same leak in a Seattle home stays wet. The mortar bed under your tile acts like a sponge that never fully wrings out in our climate, and that sustained moisture is what feeds Stachybotrys and structural rot.
Atmospheric river events, which hit the Puget Sound region with increasing regularity, drive additional moisture through building envelopes. A home already dealing with a slow shower leak during one of those events can see water intrusion accelerate when outdoor humidity spikes to near saturation levels. The moisture cannot move toward drier air because there is no drier air to move toward.
Homes where builders set foundations directly into glacial till or clay-heavy soils, which describes much of the King County topography, also deal with hydrostatic pressure from below. That upward pressure, combined with downward seepage from a leaking shower, creates a moisture sandwich around your floor assembly. Structural damage under these conditions progresses faster than homeowners expect.
Comparing Shower Pan Liner Materials and Their Failure Rates
| Liner Material | Expected Lifespan | Primary Failure Mode | Best Use Case |
|---|---|---|---|
| CPE (Chlorinated Polyethylene) | 15 to 20 years | Corner seam separation from improper folding | Standard residential shower pans |
| PVC | 15 to 20 years | Puncture during tile installation | Standard residential shower pans |
| Liquid-Applied Membrane | 10 to 15 years | Thin application at corners and curb transitions | Barrier-free and curbless showers |
| Sheet-Applied Foam Membrane | 20 plus years | Bond failure at drains if adhesive cures improperly | High-end custom tile installations |
What Professional Moisture Mapping Finds That You Cannot
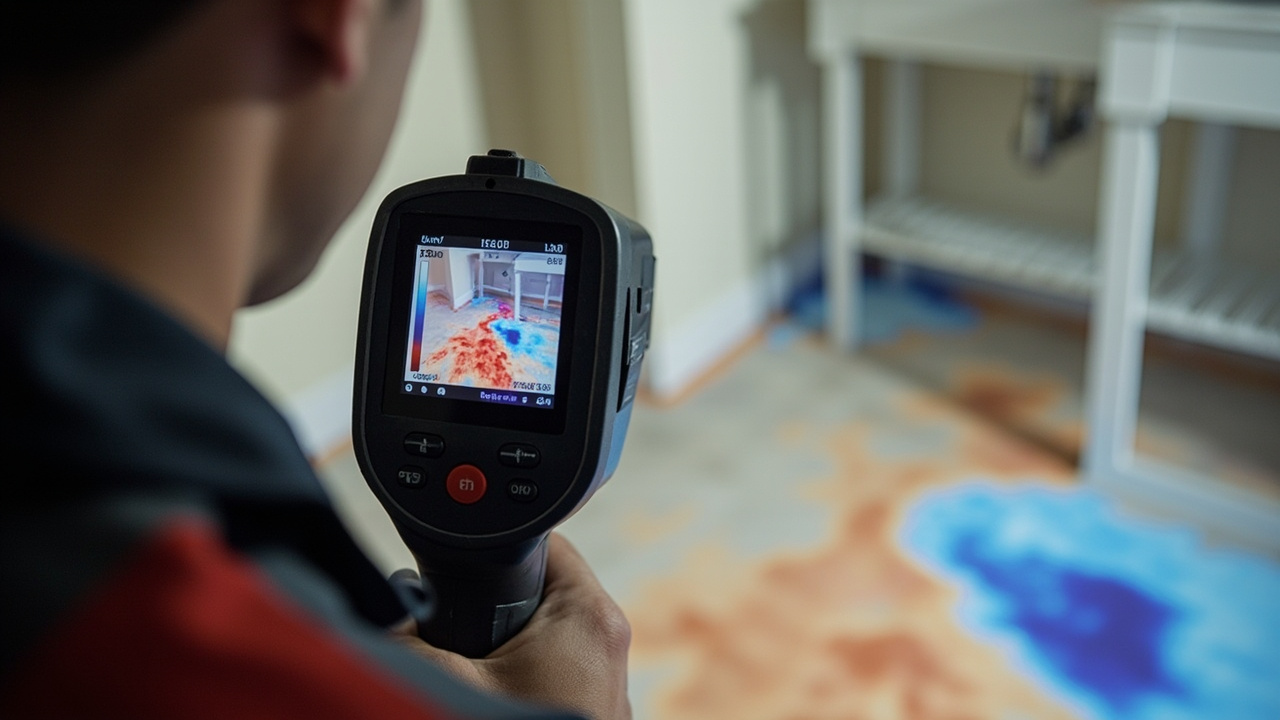
A restoration technician from Evergreen Water Damage Restoration uses two primary tools that change the diagnostic picture entirely. Infrared thermal imaging cameras detect temperature differentials in walls, floors, and ceilings that indicate moisture accumulation. Wet materials hold temperature differently than dry materials, and the camera makes that difference visible without opening a wall.
Pin-type and pinless moisture meters give numerical readings at specific points in the structure. A technician maps these readings across the bathroom floor, the adjacent walls, and the ceiling below to build a moisture profile. That profile tells us exactly where the water traveled, how far it went, and whether framing members like floor joists have absorbed enough moisture to require replacement.
This precision matters because tearing out only the damaged sections saves significant cost. Without moisture mapping, a contractor guesses at boundaries. With it, the team removes exactly what needs to go and nothing more. The IICRC S500 Standard for Professional Water Damage Restoration requires this kind of systematic moisture documentation as part of a compliant restoration process.
The Sudden vs. Gradual Damage Problem in Washington State Insurance Claims
Washington state homeowner policies draw a hard line between sudden water damage and gradual water damage. A burst pipe that floods your bathroom in an afternoon typically qualifies as sudden damage, and most policies cover it. A shower pan that seeps slowly for six months qualifies as gradual damage, and many policies exclude it entirely or limit coverage severely.
The flood test result you document before calling your insurer matters here. If the test shows a significant drop in a 24-hour window, that data supports a claim argument that the failure was not visible or knowable before the test date. Without that documentation, an adjuster may classify the entire loss as gradual and deny the claim.
Our guide on handling a water damage insurance claim in the Seattle area walks through the documentation steps in detail. Getting this right from the first call to your insurer protects your claim before anyone starts demolition.
Water Damage Progression Timeline for an Untreated Shower Pan Leak
| Time Since Leak Began | What Is Happening Inside the Structure | Visible Signs | Restoration Complexity |
|---|---|---|---|
| Days 1 to 7 | Mortar bed absorbs water, liner stress increases at seams | None visible | Minimal, liner repair possible |
| Weeks 2 to 4 | Subfloor plywood begins to absorb moisture, mold spores activate | Subtle odor, possible grout cracking | Moderate, subfloor drying required |
| Months 1 to 3 | Subfloor delaminates, mold colonies establish, joist surfaces absorb moisture | Soft floor, musty odor, efflorescence | Significant, subfloor replacement likely |
| Months 3 to 6 | Floor joist rot begins, ceiling drywall in room below absorbs water | Ceiling stains, bouncy floor, peeling paint | Major structural repair plus mold remediation |
| 6 months plus | Structural framing compromise, Stachybotrys colony growth, potential floor collapse risk | Visible mold, collapsing ceiling sections, severe floor deflection | Full structural and mold remediation project |
What Restoration Actually Costs and Why Delay Multiplies It
Restoration pricing in Seattle reflects local labor rates, disposal costs at King County facilities, and the scope of demolition required. When a technician catches a liner breach in the first month, the repair involves far less labor and material than a project requiring joist sistering, subfloor replacement, mold remediation under EPA mold remediation guidelines, and ceiling repair in the room below.
The cost difference between a month-one discovery and a six-month discovery is not incremental. It multiplies because each additional damaged material category adds its own removal, drying, and replacement scope. Delay is the single biggest cost driver in shower pan leak restoration. For more context on how delayed action affects outcomes, read about why waiting to address water damage always makes the situation worse.
Frequently Asked Questions
Can I tile over a leaking shower pan after patching the grout?
Patching grout does not fix a failed waterproofing membrane beneath the mortar bed. The leak continues under any new grout you apply. A professional inspection is the right next step to find the actual source.
How do I know if the leak is in the pan or in a supply line?
Run the flood test described above with the drain plugged and no plumbing running. A dropping water level points to a pan or liner breach, while a steady level with staining below points to a supply or drain connection. That result tells you which professional to call first.
Does homeowner’s insurance cover shower pan repairs in Washington state?
Coverage turns on whether your insurer classifies the damage as sudden or gradual. Document your flood test results and photograph all visible signs before you file. A restoration company with insurance claim experience can help you present that documentation in the strongest possible way.
When to Stop Testing and Start Calling
The flood test works well for confirming a leak. But if you see ceiling staining below the bathroom, if the floor has visible flex, or if you detect any mold odor, the damage has already moved beyond a simple liner repair. At that point, a moisture mapping inspection from a restoration professional gives you the full picture before any demolition begins.
Evergreen Water Damage Restoration serves Hawthorne Hills and the greater Seattle metro around the clock. Our technicians carry infrared cameras and moisture meters on every service call. We map the damage, document the scope, and work directly with your insurance adjuster. If you want to know what hiring a qualified restoration team looks like before you commit, read our guide on how to hire a water restoration company.
Call Evergreen Water Damage Restoration today. Every technician we dispatch performs full moisture mapping on arrival so you receive a precise damage profile before any work begins. Tell our team you performed a flood test, describe what you found, and we will dispatch a technician to your home the same day. The sooner we map the moisture, the smaller the repair scope and the lower the final cost.