

Managing moisture and mildew in the sunrooms and glass enclosures of Briarcliff demands more than a dehumidifier and good intentions. When outdoor dew point temperatures rise above the interior surface temperature of your sunroom glass, liquid water deposits directly onto your frames and sill plates. Briarcliff homeowners face this condition from October through March as Seattle’s ambient relative humidity climbs between 70% and 85%, pushing condensation loads onto glass enclosures that builders constructed before thermal-break aluminum became standard in the neighborhood. By the time you smell something musty, the wood framing behind your glass panels has likely been wet for weeks.
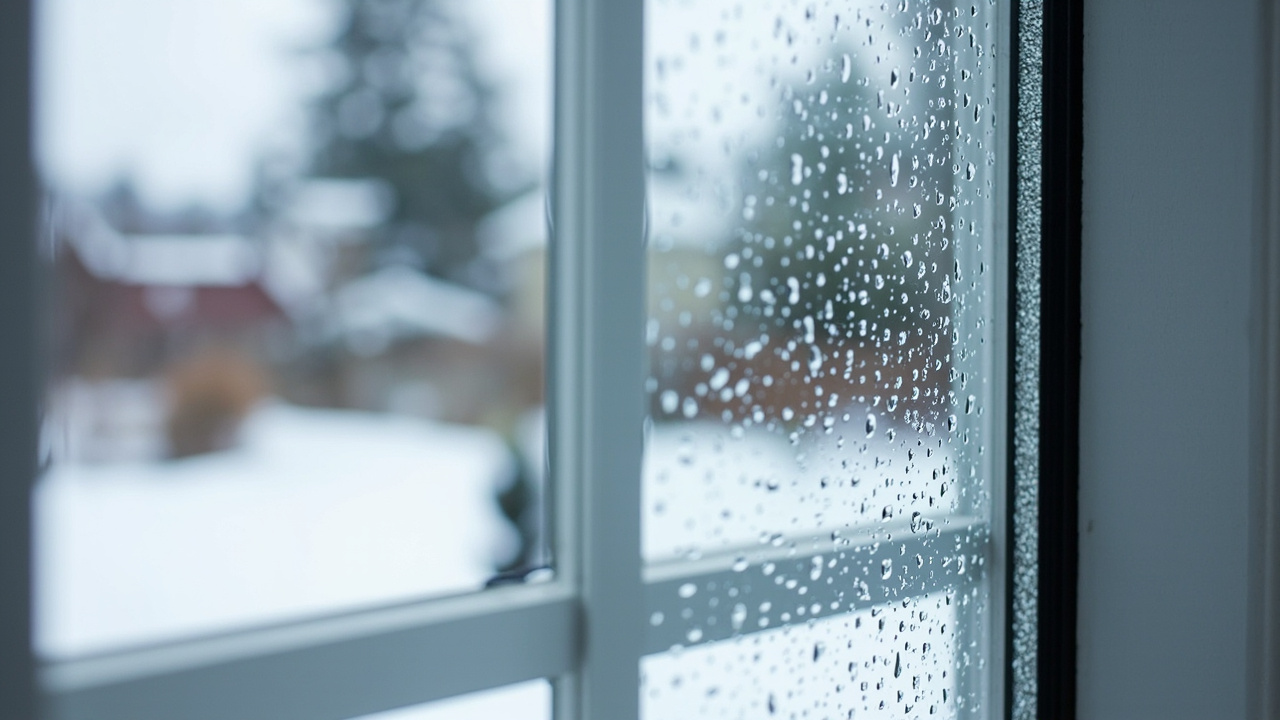
This guide gives you the technical reasons your sunroom sweats, the specific warning signs that separate a nuisance from a restoration emergency, and a clear decision tree for when a dehumidifier is enough versus when you need moisture mapping and professional structural drying.
Why Seattle’s Maritime Climate Punishes Sunrooms More Than Anywhere Else
Seattle sits in a maritime climate band where the National Weather Service Seattle consistently records relative humidity (RH) levels between 70% and 85% during fall and winter months. That range matters because most sunrooms perform adequately at 50% RH. Push past 65% and the physics shift against you.
The core problem is dew point. When warm interior air touches a surface cold enough to drop below the dew point temperature, moisture leaves the air and deposits on that surface as liquid water. In a Briarcliff sunroom during November, your glass might sit at 38°F on the interior face while your room air holds 68°F at 75% RH. That combination produces a dew point right around 60°F, which means condensation forms well before your glass can equilibrate.
Standard double-pane insulated glazing units (IGUs) reduce this problem but do not eliminate it. Aluminum frames are the bigger culprit because aluminum conducts heat roughly 1,000 times more efficiently than wood. That high conductivity creates what engineers call thermal bridging. The metal frame pulls cold from outside, turns icy at the interior face, and the surrounding warm air dumps moisture directly onto it.
How Thermal Bridging Targets Your Frame More Than Your Glass
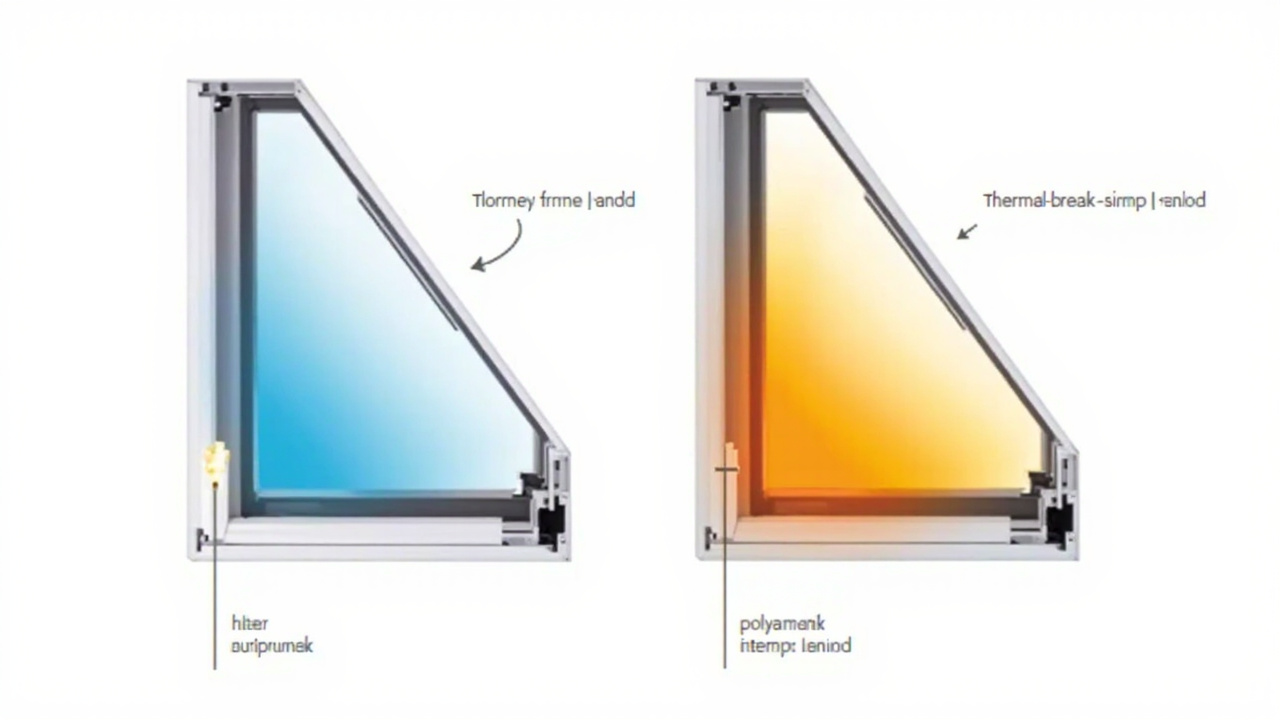
Many homeowners replace foggy IGUs thinking that solves the problem. It reduces it. The aluminum frame still bridges the thermal boundary, and water still deposits where the glass meets the frame. Builders constructed many of these enclosures before thermal-break aluminum became standard, and the entire frame section acts as a cold fin reaching into your living space. Many of those enclosures went up during the construction boom of the late 1970s through the 1990s, as developers built out Briarcliff lots along their characteristic northwest-facing slopes, and those frames carried no polyamide interrupt at all.
Thermal-break frames interrupt that conduction path with a polyamide or polyurethane insert. You can retrofit older frames with thermal breaks, but the process requires partial disassembly and re-glazing. A restoration contractor with infrared thermography equipment can map exactly which frame sections run cold so you prioritize the right upgrade zones first.
The Hidden Damage That Condensation Leaves Behind
Condensation becomes a restoration issue when water migrates beyond the glass surface and into the building assembly. This happens through three main paths.
- Frame-to-sill junction failure. Water that runs down the interior glass face pools at the sill plate. If the sill lacks a proper vapor barrier or drainage channel, that water wicks into the wood framing beneath. Wood framing saturated above 19% moisture content begins supporting fungal decay within days in Seattle’s temperatures.
- Perimeter wall penetration. Where your sunroom attaches to the main house structure, a flashing or caulk joint seals the connection. Seattle’s 37-plus inches of annual rainfall works that seal relentlessly. A failed perimeter joint lets bulk water enter the wall cavity, where it saturates insulation and begins feeding mold colonies behind your drywall.
- Condensation inside wall cavities. If your sunroom lacks a properly installed vapor barrier on the warm side of the wall assembly, warm humid interior air moves into the wall cavity and condenses on the cold exterior sheathing. The 2021 Seattle Residential Code, which Washington State adopted under the International Residential Code framework and which Seattle DOC enforces under the Seattle amendments at Chapter 11 for energy and vapor control, requires a vapor retarder on the warm-in-winter side of insulation in conditioned sunroom assemblies. This is vapor drive, and it produces mold that you will never see until you open the wall.
Black mold (Stachybotrys chartarum) requires continuous moisture for 48 to 72 hours to establish. Seattle’s gray stretches from October through March give mold exactly the sustained wet conditions it needs. The back-to-back atmospheric river events that hit the West Seattle ridge in late November and again in early February during the 2024 to 2025 wet season sent dozens of sunroom calls to restoration companies across the area. Homeowners in Ballard and West Seattle dealing with sunroom mold rarely find a single leak. They find a pattern of chronic condensation that nobody treated seriously.
If you notice a persistent musty odor, soft or discolored drywall near the base of your sunroom walls, or paint bubbling along the perimeter, read this guide on how to tell if your home has hidden mold behind the drywall before you assume the problem is cosmetic.
Comparing Your Mitigation Options Side by Side
The table below compares the most common responses to sunroom condensation problems, ranked by effectiveness in the Pacific Northwest climate. For this table, Moderate means the solution maintains RH below 60% only when outdoor temperatures stay above 50°F. High means effective at maintaining RH below 55% at outdoor temperatures above 33°F. Very High means effective at maintaining RH below 50% through the full PNW cold season including periods when overnight temperatures fall to 35°F or below.
| Solution | Best For | PNW Effectiveness | Limitations |
|---|---|---|---|
| Refrigerant dehumidifier | Summer and mild-season moisture control | Moderate (RH below 60% only above 50°F outdoors) | Efficiency drops sharply below 60°F. Struggles in Seattle winters. |
| Desiccant dehumidifier | Cold-season operation in unheated sunrooms | High (RH below 55% at outdoor temps above 33°F) | Higher energy draw. Best paired with a programmable controller. |
| Heat Recovery Ventilator (HRV) | Continuous fresh-air exchange without heat loss | Very High (RH below 50% through full cold season at 35°F or below) | Requires professional installation and duct integration. |
| Energy Recovery Ventilator (ERV) | Homes that need both RH and heat control | Very High (RH below 50% through full cold season at 35°F or below) | Higher upfront cost. Better suited for fully conditioned sunrooms. |
| Thermal-break frame retrofit | Chronic frame condensation in older enclosures | High (RH below 55% at outdoor temps above 33°F) | Partial disassembly required. Not DIY-appropriate. |
| Triple-pane IGU upgrade | Glass surface condensation elimination | High (RH below 55% at outdoor temps above 33°F) | Cost-intensive. Does not fix frame thermal bridging. |
Why Refrigerant Dehumidifiers Underperform Here
A refrigerant dehumidifier works by passing air over a cold coil, condensing moisture out of it, then reheating the air. The coil temperature must stay above freezing or the unit ices over and stops working. In a Briarcliff sunroom during January, where temperatures can drop to 40°F at night, that coil hits its limit fast. A desiccant dehumidifier uses a moisture-absorbing rotor that operates effectively at temperatures as low as 33°F, making it the correct tool for PNW winter conditions.
Set your target indoor RH between 30% and 50%. Above 60%, mold growth accelerates. Below 30%, you risk drying out wood trim and creating static electricity problems. A hygrometer mounted at mid-wall height gives you a reliable RH reading that the glass surface temperature alone cannot tell you.
Moisture Mapping and Infrared Thermography in Restoration Work
When a restoration team responds to a sunroom with suspected water intrusion, the first tool out of the case is typically a thermal infrared camera paired with a calibrated moisture meter. Infrared thermography reveals temperature differentials across surfaces. Wet materials hold temperature differently than dry materials, and that contrast appears as distinct color zones on the camera screen.
A moisture meter then confirms the readings. Restoration professionals using IICRC S520 standards for mold remediation and IICRC S500 protocols for structural drying document moisture readings across a grid of measurement points. That grid becomes the moisture map, telling the team exactly which sections of framing, insulation, and drywall require drying, which require replacement, and which are dry enough to leave in place.
This matters for insurance purposes too. A documented moisture map showing the extent and distribution of saturation gives your insurance adjuster a defensible scope of work. Without it, the adjuster estimates by eye and typically underestimates. If your sunroom damage connects to a sudden perimeter leak during a storm event, that claim pathway differs significantly from a chronic condensation exclusion. For guidance on building that insurance case, the article on handling a water damage insurance claim in Beacon Hill walks through the documentation process in detail.
The Structural Integrity Question for Wet Wood Framing
Wood framing that reaches 28% moisture content or higher qualifies as structurally compromised for load-bearing purposes under Washington State Energy Code guidelines. In a sunroom, the perimeter knee wall and the header above sliding glass doors often carry meaningful loads from the roof structure. Soft, spongy wood in those zones is not just a mold issue. It is a structural concern that affects the safety of the enclosure.
Briarcliff lots slope at grades that commonly run between 8% and 18%, and that terrain creates a specific drainage challenge that flat-lot neighborhoods do not face. Glacial till soils across those slopes drain slowly, and when saturated soil sits against a sunroom foundation wall or slab edge, hydrostatic pressure pushes moisture through even a well-sealed concrete perimeter. Briarcliff sunrooms sitting on the lower portion of a lot, where the slope directs runoff toward the structure, face this problem with particular intensity during atmospheric river events. The fix at the soil level, meaning the right drainage slope and a properly placed French drain keyed to the lot’s natural grade, is entirely separate from what you do inside the sunroom, but both pieces need addressing at the same time.
For context on what sustained slow moisture does to structural framing, the detailed case study at what a slow water heater leak in a Magnolia basement does to your home applies directly to sunroom framing scenarios because the moisture behavior is nearly identical.
A Seasonal Maintenance Checklist for Seattle Sunroom Owners
The table below gives you a month-by-month maintenance framework built specifically for the PNW rainfall calendar.
| Season | Key Tasks | Why It Matters in Seattle |
|---|---|---|
| Early Fall (Sept-Oct) | Inspect and re-caulk all perimeter flashing joints. Test your hygrometer calibration against a known reference. Switch your dehumidifier to a desiccant unit before nighttime temperatures fall below 55°F. | First heavy rains arrive. Failed caulk allows bulk water entry before you notice interior damage. |
| Peak Rainy Season (Nov-Feb) | Check sill plates weekly and wipe any surface moisture you find. Monitor your hygrometer reading daily and adjust dehumidifier output when RH climbs above 55%. Clear roof drainage channels above the sunroom after every major storm. | Atmospheric river events can dump 2-plus inches in 24 hours. Clogged drainage backs water up onto glass joints and into frame channels. |
| Late Winter (Feb-Mar) | Press a pin-type moisture meter into wood framing at the frame base and record your readings. Walk the sill trim and push firmly at each corner to detect soft spots before they spread. | The accumulated wet season stress shows up now. Decay fungi start producing visible mycelium as temperatures rise above 40°F. |
| Spring (Apr-May) | Clean IGU surfaces and inspect the interior glass face for cloudiness that signals a failed argon-gas seal. Schedule thermal imaging if any of your winter moisture readings exceeded 16% in structural members. | Warmer temperatures accelerate mold growth in any framing that stayed wet through winter. Spring is your best window to catch damage before the next rainy season. |
| Summer (Jun-Aug) | Open your sunroom and ventilate freely on dry days. Run your HRV on a low setting to maintain fresh-air exchange. Treat any surface mildew you find with an EPA-registered biocide appropriate for the material type. | Seattle’s dry summers give you the best conditions for structural repairs. Complete any framing work, re-caulking, or frame retrofits now so the enclosure is ready before October. |
Signs That You Need a Restoration Professional Not a Hardware Store Run
A dehumidifier and improved ventilation handle surface condensation effectively when the building assembly itself remains dry. The moment water gets inside the assembly, the DIY window closes. These are the specific indicators that the problem has crossed that line.
- Wood sill plates or base trim feel soft when you press them firmly with a finger.
- Paint or finish on interior drywall near the sunroom perimeter shows bubbling, peeling, or dark staining at the base.
- A musty odor persists even after you run ventilation for 48 hours with the sunroom open.
- Your pin-type moisture meter reads above 16% in any structural wood member near the glass frame.
- You find visible mold growth on any surface, even if it looks small. IICRC S520 protocols classify any confirmed mold as requiring professional assessment before remediation begins.
- The aluminum frame pulls away visibly from the wall assembly at any point along the perimeter joint.
Homeowners who contact restoration professionals often describe waiting through one full rainy season before calling. By that point, the restoration scope expands significantly. The framing that might have needed drying in October needs replacement by February. Speed of response directly determines the scope and cost of restoration work.
The delay pattern mirrors what happens in kitchen water damage scenarios. The same principle explained in the article on why waiting to dry out after a water event makes everything worse applies directly here. Wet wood does not wait.
What to Expect From a Professional Moisture Assessment
A trained restoration technician assessing a Seattle sunroom works through a specific sequence. First, the technician documents visible conditions with photographs and notes. Second, the technician runs thermal imaging across all glass-to-frame junctions, perimeter walls, and the ceiling plane if your sunroom connects to a second floor. Third, the technician records moisture meter readings across a systematic grid, typically on 12-inch centers in any area where thermal imaging shows a temperature anomaly. In Briarcliff specifically, the technician should extend that grid to include the upslope perimeter wall, because the lot grade directs groundwater toward that wall face in ways that flat-lot assessments do not require.
From that data, the technician produces a drying plan. The plan specifies the number and placement of desiccant or refrigerant dehumidifiers, the number of air movers for structural drying, target moisture content for each material category, and a daily monitoring schedule. IICRC standards require documentation of daily readings until all materials reach equilibrium moisture content (EMC) consistent with the surrounding environment.
If mold remediation is part of the scope, S520 protocols require containment of the affected area, air filtration with HEPA-rated scrubbers, removal of all materials the team cannot dry to target moisture content, and surface treatment with an EPA-registered antimicrobial agent. A post-remediation verification (PRV) clearance test confirms the work before containment comes down.
For guidance on vetting a restoration company before signing anything, review the full hiring guide at how to hire a water restoration company (what homeowners need to know).
Take a Diagnostic Step Before the Next Rainy Season Arrives
Briarcliff and the broader Seattle hillside neighborhoods sit in one of the highest ambient humidity zones in the continental United States. Your sunroom faces that moisture load every single day from October through March. The difference between a dry, functional glass enclosure and a mold-compromised structural problem comes down to early detection and fast action.
The most productive step you can take right now is to pick up a pin-type moisture meter at any hardware store, press it into the wood framing at the base of each glass panel, and write down the readings. Any reading above 16% in a structural member means the assembly is already holding water beyond safe levels. Any reading above 19% means fungal decay conditions are present. Those numbers tell you whether this is a ventilation adjustment or a professional assessment situation. If your readings stay below 16% and you have no soft spots or musty odor, the seasonal maintenance checklist above gives you a clear framework for keeping them there. If your numbers are already climbing, a formal moisture mapping inspection gives you a defensible picture of what is happening inside the assembly before the damage spreads further.