

Refrigerator Ice Maker Leak Behind Cabinets in Your Sammamish Kitchen
A small puddle near your refrigerator might seem harmless. But if your ice maker has been quietly leaking behind your cabinets, you could be looking at warped hardwood, saturated subfloor, and active mold growth inside a wall cavity you cannot see. In the Sammamish area, where kitchen builds often feature tight cabinetry against exterior walls and indoor humidity already runs high, this type of slow leak causes serious structural damage faster than most homeowners expect.
This guide covers the mechanical causes of a refrigerator ice maker leak, how to stop the water immediately, and what professional water damage restoration looks like once the appliance is fixed.
The Most Common Reasons an Ice Maker Leaks Behind Your Cabinets
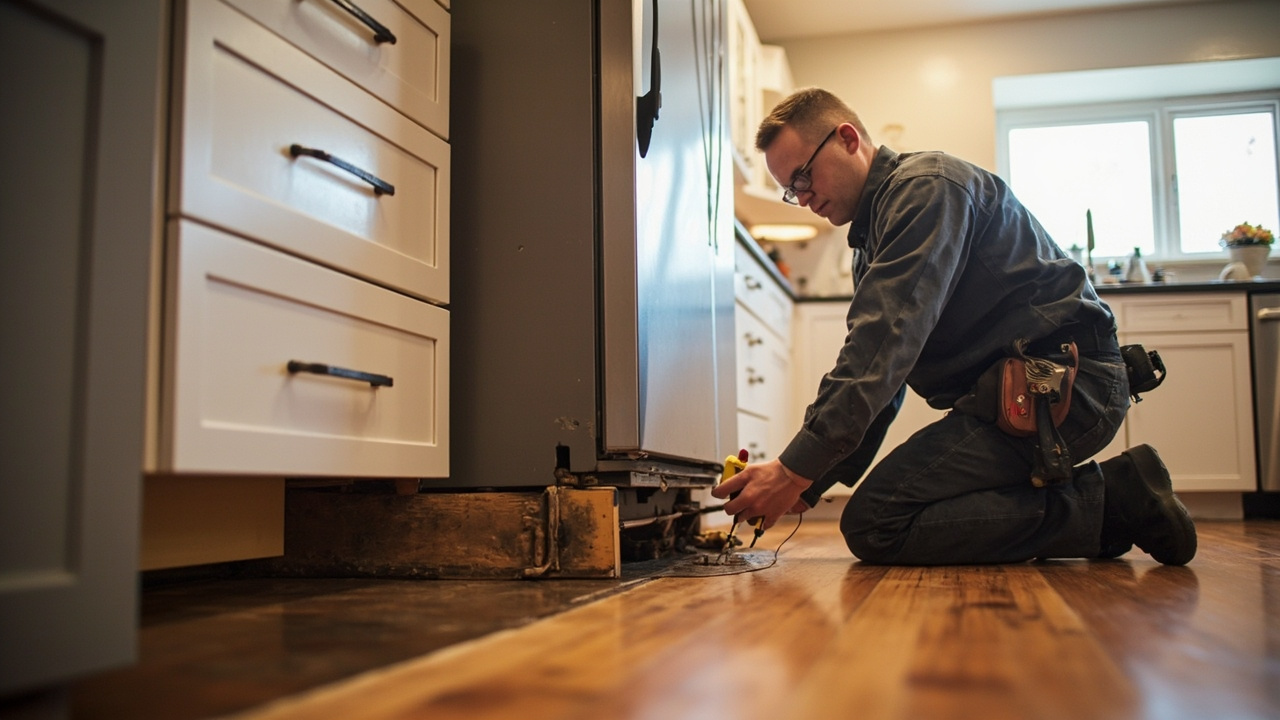
Ice maker leaks are almost always invisible at first. The water does not pool on the floor in front of the fridge. It travels. Water follows the path of least resistance, which usually means behind the refrigerator, under the toe kick, and into the subfloor or wall cavity behind the cabinetry.
Saddle Valve Failure at the Water Supply Line
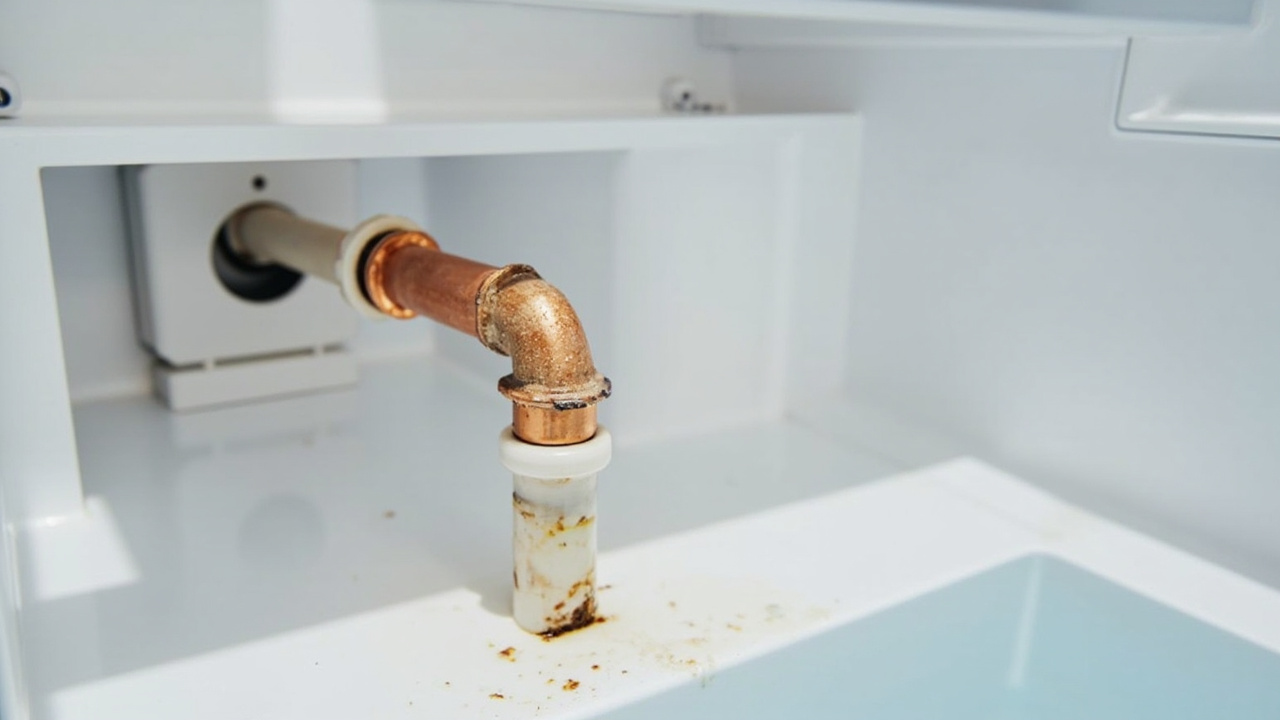
Most refrigerator ice makers connect to your home’s cold water supply through a saddle valve. These valves pierce the existing copper or PEX line with a needle-style puncture fitting. They are inexpensive to install but notoriously unreliable over time. The rubber seal inside the saddle valve degrades, and the valve starts weeping water at a rate slow enough that you will not notice it for weeks or months.
Inspect the saddle valve where your supply line connects to the wall stub-out behind or under the refrigerator. Any mineral deposits, discoloration, or visible moisture around the fitting means the valve is already compromised. Replacing a saddle valve with a proper quarter-turn ball valve and a compression fitting is the right long-term fix.
Cracked or Kinked Water Supply Line
The flexible plastic tubing connecting your saddle valve to the refrigerator’s solenoid inlet valve takes a lot of stress every time you pull the fridge out to clean. Over time, the line cracks or develops a pinhole. Braided stainless steel supply lines are significantly more durable and are the standard in professional installations.
Solenoid Inlet Valve Failure
The solenoid inlet valve is the electro-mechanical valve inside the refrigerator that opens to allow water into the ice maker during a fill cycle. When the solenoid diaphragm wears out or the valve body cracks, water seeps past the valve even when the ice maker is not actively filling. This produces a constant, low-volume drip directly inside the refrigerator cabinet that routes water down to the floor and back behind the unit.
Frozen Fill Tube
The fill tube delivers water from the inlet valve into the ice maker tray. If your freezer temperature runs too low or the ice maker is positioned in a spot with inconsistent airflow near the evaporator coils, this tube freezes solid. When the valve opens for the next fill cycle, water has nowhere to go and backs up, often dripping down the inside rear wall of the freezer and finding its way out the back of the unit.
Loose or Cracked Ice Maker Assembly
The ice maker module itself can develop cracks in the tray or the water distribution cup, especially in older units. A damaged tray spills water during every fill cycle rather than containing it until freezing. This is one of the easier failure points to spot since you will often see frost accumulation or ice chunks in unexpected places inside the freezer.
| Failure Point | Typical Location | Leak Rate | DIY Fix |
|---|---|---|---|
| Saddle valve | Wall behind refrigerator | Slow, continuous drip | Replace with ball valve |
| Supply line | Behind or under unit | Pinhole to steady flow | Replace with braided steel line |
| Solenoid inlet valve | Inside rear of refrigerator | Slow seep or sudden flow | Replace valve assembly |
| Frozen fill tube | Inside freezer compartment | Overflow during fill cycle | Defrost and adjust temperature |
| Ice maker tray or assembly | Inside freezer | Per-cycle spill | Replace ice maker module |
Stop the Leak Right Now
If you have found water behind your cabinets or under your flooring near the refrigerator, the first priority is stopping more water from entering the structure. Follow these steps immediately.
- Shut Off the Water Supply
Locate the saddle valve or dedicated shutoff behind the refrigerator or under the adjacent cabinet. Turn it fully clockwise to close. If you cannot find a dedicated shutoff, turn off the main water supply to the house.
- Disconnect Power to the Refrigerator
Pull the refrigerator away from the wall and unplug it. Do not skip this step. Water and electricity near cabinetry and subfloor wiring create a real electrocution hazard.
- Remove Standing Water
Use towels, a wet/dry vacuum, or a mop to remove any visible water from the floor surface immediately. The faster you remove surface water, the less time it has to wick into the subfloor and framing.
- Open the Cabinet Space
Remove the toe kick panel below adjacent cabinets. Point a box fan into the open cavity to begin air movement. This is a temporary measure only and does not substitute for professional structural drying equipment.
- Document Everything
Take photos and video of all visible water damage, including stained walls, warped flooring, and discolored cabinetry. This documentation is essential for your homeowner’s insurance claim.
- Call a Water Damage Restoration Professional
A licensed restoration technician needs to assess the moisture content behind your cabinets and under your subfloor before any drying can be considered complete. Calling within the first few hours significantly reduces structural damage and mold risk.
What the Water Is Actually Doing Behind Your Cabinets
Here is where homeowners consistently underestimate the problem. A refrigerator ice maker leak that has been running for a week or more does far more than wet the floor. In a Sammamish kitchen with standard hardwood or engineered wood flooring over a wood subfloor, the damage follows a predictable and expensive pattern.
Hardwood Floor Cupping and Buckling
Wood floors absorb moisture from below faster than from above. When the subfloor underneath gets wet, the bottom face of each hardwood plank swells first. The edges rise faster than the center, causing the classic cupped appearance. If the moisture exposure continues, buckling follows, where entire sections of flooring lift off the subfloor entirely. Cupped floors can sometimes be saved with professional drying and refinishing. Buckled floors almost always require full replacement of the affected sections.
Subfloor Saturation and Rot
OSB and plywood subfloor panels lose structural integrity quickly when wet. In a kitchen, where foot traffic loads are constant, a saturated subfloor can develop soft spots within days. Left untreated, the panel edges delaminate, fastener holes enlarge, and the framing members below begin to show signs of decay. Professional technicians use moisture meters and thermal imaging cameras to map exactly how far saturation has traveled through the subfloor assembly, which is often three to four times larger than the visible wet area on the surface.
Black Mold Growth in Enclosed Cabinet Cavities
According to the U.S. Environmental Protection Agency’s mold guidance, mold can begin growing on wet building materials within 24 to 48 hours under the right conditions. In Sammamish and across greater King County, indoor relative humidity during fall and winter regularly exceeds 60 percent without active dehumidification. That baseline moisture level means the cavity behind your refrigerator and under your cabinets is already close to the threshold where mold spores activate.
Stachybotrys chartarum, commonly called black mold, thrives on cellulose-rich materials like drywall paper, wood framing, and cabinet backing panels. Once established, it requires professional antimicrobial treatment and physical removal of contaminated materials. The cost and disruption of mold remediation significantly exceeds the cost of early moisture extraction and structural drying.
If you are already seeing dark staining on walls behind your refrigerator, do not disturb it. Disturbing an active mold colony releases spores into the air and spreads contamination. This is a job for a certified technician, not a can of bleach spray.
For more on identifying hidden mold in your home, read our guide on how to tell if your home has hidden mold behind the drywall.
Why Seattle’s Climate Makes This Worse Than You Think
The Pacific Northwest receives an average of more than 37 inches of precipitation annually, and the region’s persistent cloud cover means indoor moisture does not naturally evaporate the way it would in a drier climate like Phoenix or Denver. When a refrigerator ice maker leak introduces water into your kitchen’s building cavity in Sammamish, Bellevue, or Queen Anne, that water has nowhere to go on its own.
Standard household fans and open windows do not generate enough airflow or temperature differential to dry a saturated subfloor. The IICRC S500 Standard for Professional Water Damage Restoration specifies that structural drying requires achieving a psychrometric balance between temperature, airflow, and dehumidification that household equipment simply cannot deliver. Industrial-grade desiccant or refrigerant dehumidifiers, combined with high-velocity air movers positioned specifically to create a drying vortex inside wall cavities, are required to bring moisture content back to pre-loss levels.
Homes in Ballard or Capitol Hill with older Craftsman-era construction face additional challenges. Lath and plaster walls hold moisture differently than modern drywall. Old-growth fir subfloors common in those neighborhoods are dense and slow to dry, but also more prone to surface checking and splitting when wet-dry cycles happen rapidly.
If you have experienced a similar situation with a slow leak in a different appliance, our article on why waiting to dry out your kitchen after a dishwasher overflow makes everything worse covers the same principles in detail.
The Difference Between Fixing the Appliance and Restoring the Structure
This distinction matters. A plumber or appliance technician can replace your solenoid inlet valve, swap your supply line, and install a proper shutoff valve. That stops new water from entering the structure. It does not address the water already inside your walls, subfloor, and cabinet cavities.
Professional water damage restoration is a separate discipline. An IICRC-certified WRT (Water Restoration Technician) performs a different set of tasks using different equipment.
- Moisture mapping with a pin and pinless moisture meter to establish the full extent of saturation in walls, floors, and cabinets
- Thermal imaging camera inspection to identify wet zones hidden behind drywall and under flooring without destructive demolition
- Placement of high-velocity air movers and industrial dehumidifiers in a calculated configuration to achieve the target drying conditions
- Daily moisture readings to track drying progress and adjust equipment placement
- Antimicrobial treatment applied to affected framing members and subfloor panels after drying is confirmed
- Structural and finish repairs, including subfloor replacement, flooring reinstallation, and cabinet restoration where needed
Evergreen Water Damage Restoration serves Sammamish, Bellevue, Kirkland, Redmond, and the broader King County area with 24/7 emergency dispatch. When you call, a technician is on site quickly, not a call center representative scheduling an appointment for next week.
What Homeowner’s Insurance Covers for Ice Maker Leaks
This is one of the most common questions we get on site, and the answer depends on one key distinction: sudden versus slow.
| Leak Type | Typical Coverage | Common Exclusions | Documentation Needed |
|---|---|---|---|
| Sudden pipe burst or valve failure (discovered within 14 days) | Usually covered under standard HO-3 policy | Appliance repair cost itself | Date of discovery, photos, plumber report |
| Slow leak ongoing for months | Often denied as neglect or lack of maintenance | All damage if insurer proves long-term seepage | Same, but outcome varies by carrier and adjuster |
| Mold resulting from covered water event | Limited mold coverage in most WA state policies | Pre-existing mold or negligence | Restoration company moisture report |
| Subfloor and structural drying | Covered when tied to covered water event | Pre-existing deterioration | IICRC-certified restoration invoice and scope |
The key is acting fast and documenting everything before any repairs begin. Calling a restoration company before calling your insurer is often the right sequence, because a certified technician’s moisture report carries significant weight when an adjuster evaluates your claim. For a detailed walkthrough of the claims process, see our guide on how to handle a water damage insurance claim for your home.
The Timeline That Determines How Much This Costs You
Water damage repair costs scale with time. This is not a scare tactic. It is a direct reflection of how building materials absorb and transmit moisture.
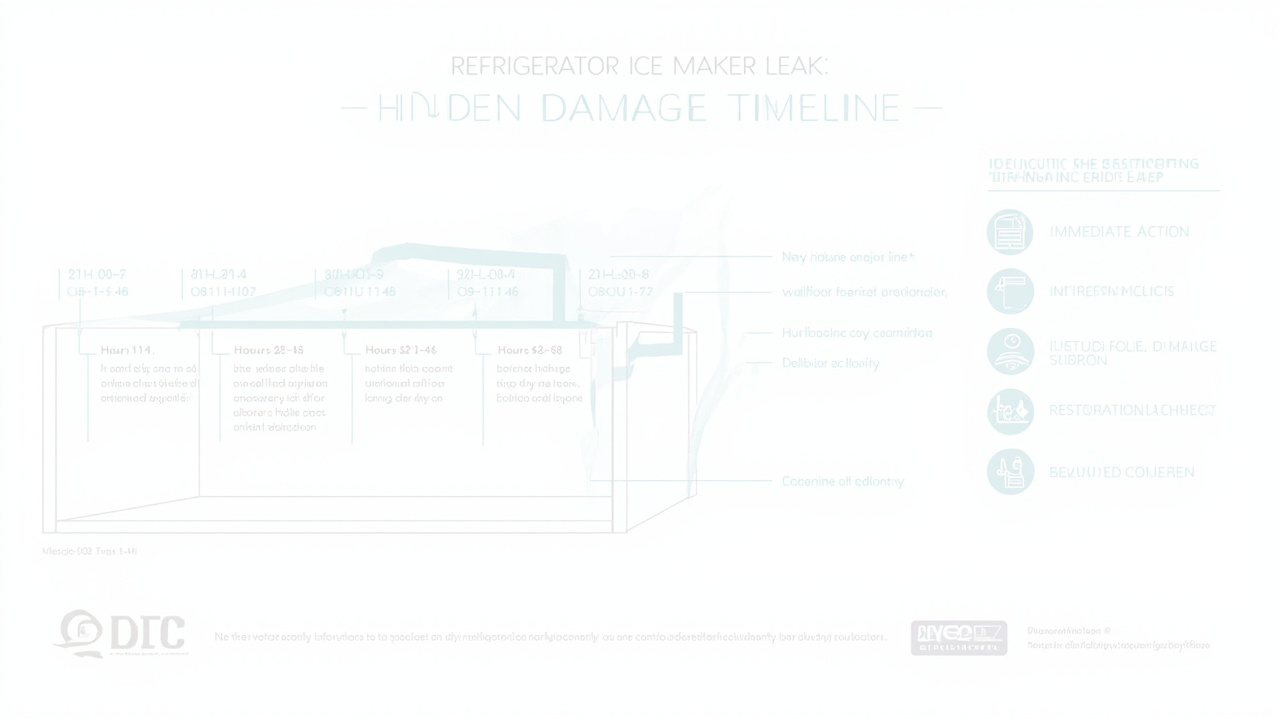
- Hours 1 to 4 – Water is present but largely on surfaces. Extraction is fast. Subfloor may be damp but not saturated. Mold has not activated.
- Hours 4 to 24 – Moisture has wicked into subfloor panels and wall cavity framing. Drywall paper is soft. Drying takes 3 to 5 days with professional equipment.
- Hours 24 to 48 – Mold growth begins on wet cellulose surfaces. Subfloor panels show measurable softening. Hardwood floors are cupping.
- Beyond 48 hours – Active mold colony likely present. Subfloor sections may require replacement. Structural framing shows early decay signs.
A leak discovered and addressed in the first four hours is a manageable restoration job. The same leak discovered after a week behind your cabinets becomes a kitchen demolition and rebuild. The difference in scope and cost is substantial.
This applies equally to water heater leaks in your basement. See our related resource on what a slow water heater leak is really doing to your home for context on how hidden slow leaks behave across different parts of a house.
When to Call Evergreen Water Damage Restoration in Seattle
You do not need to see active flooding to call a restoration company. If you have found any of the following, pick up the phone.
- A musty odor near your refrigerator or inside adjacent cabinets
- Soft spots, cupping, or buckling in your kitchen floor
- Discoloration or bubbling on the wall behind or beside the refrigerator
- A damp or wet toe kick panel under lower cabinets
- Visible dark staining on cabinet backing panels or drywall
- Any puddle that you cannot trace to a single obvious spill
Evergreen Water Damage Restoration responds to Sammamish, Bellevue, Redmond, Kirkland, and all of King County around the clock. We perform moisture mapping on arrival, give you a clear picture of the actual damage extent, and walk you through your insurance options before any work begins. If you are deciding how to choose the right restoration company, our guide on how to hire a water restoration company covers what to look for.
A refrigerator ice maker leak is fixable. The water damage it leaves behind inside your kitchen structure is what turns a minor appliance repair into a major renovation. Call Evergreen Water Damage Restoration at the first sign of moisture. We stop the damage where it is, not where it ends up.
Frequently Asked Questions
How do I know if my ice maker leak has damaged the subfloor?
Walk across your kitchen floor near the refrigerator. A soft, spongy feeling underfoot is a direct indicator of subfloor saturation. Cupped or raised edges on hardwood planks near the fridge are another sign. A professional technician can confirm saturation depth and extent with a moisture meter in under 15 minutes.
Can I dry out the water behind my cabinets with fans and a dehumidifier I rent from a hardware store?
Consumer-grade dehumidifiers and box fans do not move enough air volume or reduce humidity to the level required for structural drying. The IICRC S500 standard requires achieving specific grain per pound humidity targets inside building cavities, which requires commercial-grade equipment. Using inadequate drying equipment often results in mold growth that is discovered weeks later during a renovation.
Will my homeowner’s insurance cover a refrigerator ice maker leak?
If the leak was sudden and recently discovered, most standard Washington state HO-3 policies cover the resulting water damage to your home’s structure and contents. The refrigerator itself is typically not covered. Slow leaks that occurred over months may be denied. Document your discovery date immediately and contact a restoration company before your adjuster visits.
How long does professional structural drying take after a kitchen water leak?
In the Seattle area, professional structural drying for a kitchen typically takes 3 to 5 days with industrial equipment in place. High ambient humidity during fall and winter can extend this timeline. Your technician will take daily moisture readings and adjust equipment positioning until readings return to pre-loss baseline levels.